Tuesday, January 22, 2013

Taco Seasoning

I know I said I would have a post up on Friday, but I'm finding it hard to come up with writing something on Fridays, so I may just have to say "I'll post something once a week". We'll see.

Anywho, onto the recipe. I can't remember if it was when I got my first apartment (about 5 years ago) or if it was when Dylan and I got our first apartment (just over 2 years ago), but we got one of those huge jugs of taco seasoning. You know, the kind you can get from Sam's Club and the like. At the end of last year, we finally used it all up. (We make a lot of tacos and stuff with taco seasoning in it...)

I've been doing some research and trying to eat healthier, so instead of buying pre-made seasoning to replace ours, I decided to make my own. That way I could control the sodium content (which is great considering my family's heart history) and I would know exactly what went into it. And, once I scoured online for taco seasoning recipes, I realized that I always have these ingredients on hand! Fantastic!

The taco recipe I'm sharing with you guys today is adapted from Forkful of Comfort's recipe. I didn't have any ground coriander on hand, and I didn't think I needed corn starch, as I usually don't make saucy taco meat.

 Ingredients
  • 1 tablespoon chili powder
  • 1 1/2 teaspoon cumin
  • 1 1/2 teaspoon oregano
  • 1 teaspoon paprika
  • 1 teaspoon salt
  • 1 teaspoon garlic powder
  • 1 teaspoon onion powder
  • 1/4 teaspoon cayenne pepper


Directions
Combine all ingredients in a bowl. Mix well. Makes enough seasoning for 1 pound of ground beef.


My Take

I think this tastes way better than the kind we originally had. On the plus side, I can control how spicy it is and the saltiness as well. And, as I said before, I pretty much always have these ingredients on hand, so if we do run out of taco seasoning, it's not too hard to whip up a batch. One thing I did notice, though, was that even though it says it makes enough for a pound of beef (or turkey), I didn't actually have to use that much. So for me, it goes a lot further than what it says. Yay!

All ready to use

Monday, January 14, 2013

Oops....

Well, I forgot to put a post last Friday.

Ok, I didn't forget, I just couldn't think of anything to write. I do have one in my drafts folder, but I'm having a hard time writing it. I'm thinking I just need to write another recipe and let that one lie for a bit.

So, sorry. No recipe for last week. But I'm hoping to have one this week. Not sure what, exactly, but we'll see. I'm thinking of trying a chicken tortilla soup in the slow cooker, so we'll see how that goes. That could be the winner this week.

So again, sorry. But come back Friday for a new recipe. :)

Friday, January 4, 2013

Chile Colorado Burritos

Find the original here

 I found this recipe via Pintrest, and it just looked too good to pass up.I knew this was going to be one of those Pins that I just *had* to try. And so, the other night, I did. It didn't turn out quite like I thought it would, but I have some ideas to make it better next time.


Ingredients
  • 1 1/2 to 2 pounds stew meat or other beef cubed
  • 1 large can mild (red) enchilada sauce (at least 19 oz.)
  • 2 beef bouillon cubes
  • 1/2 can refried beans (optional)
  • 5-7 burrito size flour tortillas
  • 1 cup or so of shredded cheddar cheese

Directions 

Place the beef, enchilada sauce, and bouillon cubes in a large heavy sauce pan. Bring it to a boil, then reduce it to a simmer. Let it simmer for 1 1/2 to 2 hours, until the meat is very tender (flakes off when you stir it). 

Heat up the refried beans and spread them out over the tortilla. Then, using a slotted spoon, dip out some beef and place it into the tortilla. Wrap it up like a burrito. Place it onto a cookie sheet or an oven-safe plate. Cover the burrito with the enchilada sauce and some cheese. Put it in your broiler, and broil until the cheese is nice and bubbly, about 2-4 minutes.


I also added some extra toppings

My Take
  
There were several ways on the original blog of how to cook this, but I chose the stove top way as I don't have a Dutch oven, and I thought of making it too late to cook it in the slow cooker. Next time, though, I'll be trying it in the slow cooker with a different kind of meat.

I'll admit, I forgot to set a timer while letting it simmer, but I'm nearly positive that I let it cook long enough. Even so, the meat (I used 2 pounds of stew meat) never really got that super tender. I'm not sure if it was because of the cooking time or because of the meat. The meat itself was tender, but it never got to the "flaking" stage. Next time, I may attempt to do something like my pulled pork and cook it for awhile in the crock pot, shred it, then cook it for a bit longer in the sauce. 

The original blog also said something about tasting it after it was done cooking and adding salt if needed. Mine did not need any salt, and it even tasted a bit too salty. I used the low-sodium beef bouillon cubes, so I don't completely understand where the salty taste came from. Probably because I used canned enchilada sauce instead of making my own. I'll probably do that next time. I also added a bit of homemade taco seasoning because in the comments, people were saying they couldn't taste the enchilada sauce, so I was hoping this would help. 

Also, if you don't feel like turning the oven on, you can also just melt the cheese in the microwave. However, the tortilla will be a little mushy, as it can get a little bit crispy when broiled. But the taste is all the same.

Ooey gooey goodness


Overall, this was a very good dish, and something I'll definitely make in the future.  

Tuesday, January 1, 2013

Happy New Year


I'll be seeing you more in 2013. First blog post is in the process of being written right now. Be looking for it soon. :)

Friday, October 7, 2011

Announcement

Okay, so I haven't updated in awhile and I have a good reason for that. I've moved all my blogging to over here. I've combined Shiloh's Stitches and Cafe Strawn with the addition of any miscellaneous stuff I wanna blab on about. I'll leave this blog up for the archive purpose, but all new recipes and the like will be over at the new blog. I already have some up, so go check it out, and don't forget to follow! Thanks! :)

Sunday, March 20, 2011

Calzones

I found a couple of recipes for homemade calzones in my two Betty Crocker Cookbooks that I have. One of them is from the 80's, while the other one is a brand-new one. I kinda mixed the two together and this is what I came up with.

Ingredients
  • 1 can of pre-made pizza dough
  • Pizza toppings
    • Pepperoni
    • Sausage
    • Mushrooms
    • Black Olives
    • Onions
    • Etc.
  • Mozzarella cheese, shredded
  • Ricotta cheese
  • Pizza seasoning
  • 1 egg, lightly beaten
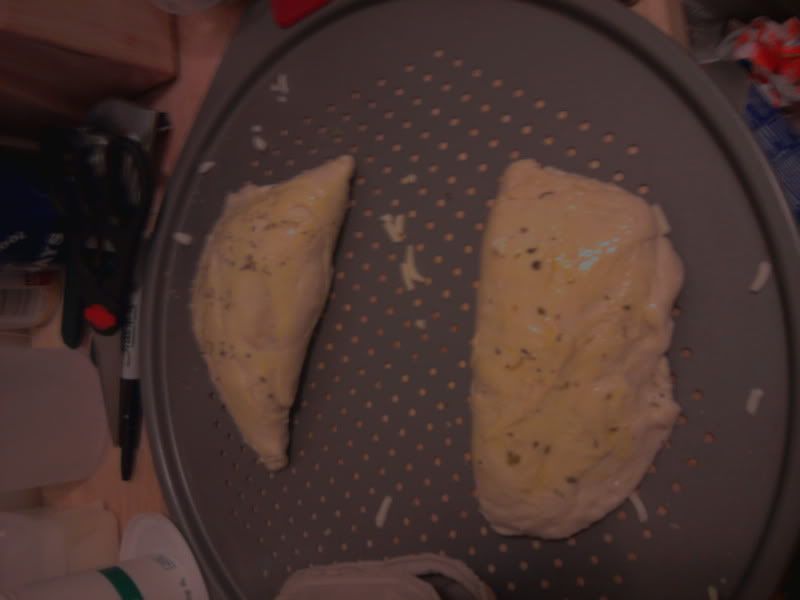
Before they went into the oven
Directions
  • Preheat oven to 350°F
  • Divide the dough into 2. Make them as round as possible.
  • Put the pizza toppings, mozzarella and ricotta cheese on one half of the circles, keeping a 1/4" edge on the outside.
  • Sprinkle the pizza seasoning over toppings/cheese
  • Fold the empty side over on top of the filled side. Pinch or use a fork to put them together. Make sure the seam is tightly sealed.
  • Brush the egg on top of the now sealed calzone. Lightly sprinkle some more pizza seasoning on top of the calzone.
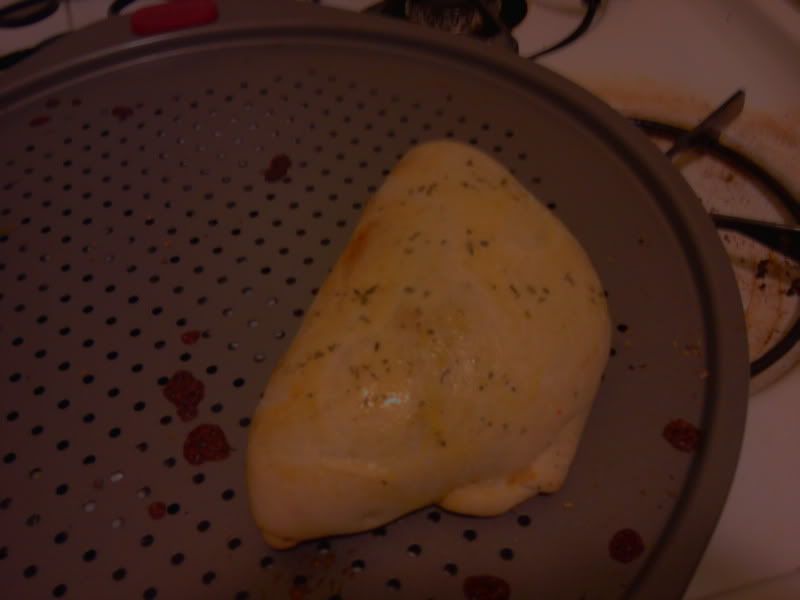
  • Put into the oven and cook for about 20 minutes or until the crust is golden brown. Don't be surprised if they grow a bit.
  • Take out and serve with the sauce of your preference. We had marinara. :)
All done!
My Take
I was very amazed at how easy these were to make. Whenever I go to Old Chicago, I always order their calzones, but now I can make them in the comfort of my own home without high prices!

You can put the sauce inside the calzone, but I didn't want it too messy as well as (I believe) traditional calzones don't have the sauce in them. Also, make sure you're careful not to fill them up too much, otherwise the dough might split and yeah....that wouldn't be too good.

So, there ya (finally) have it. My calzone recipe. Feel free to leave comments about what works for you and any questions you have. I promise I won't take a week to reply! :)

Wednesday, March 9, 2011

Cheesy Breadsticks

I totally made this recipe up after Dylan pointed out a bag of frozen ones at Wal-Mart. I said I could make them, so here is what I came up with. They are pretty easy to make and taste pretty good too!

Ingredients

  • Can of pre-made pizza dough
  • 1 package of string cheese
Directions
  • Preheat oven to 350°F
  • Open can of pizza dough and unroll it.
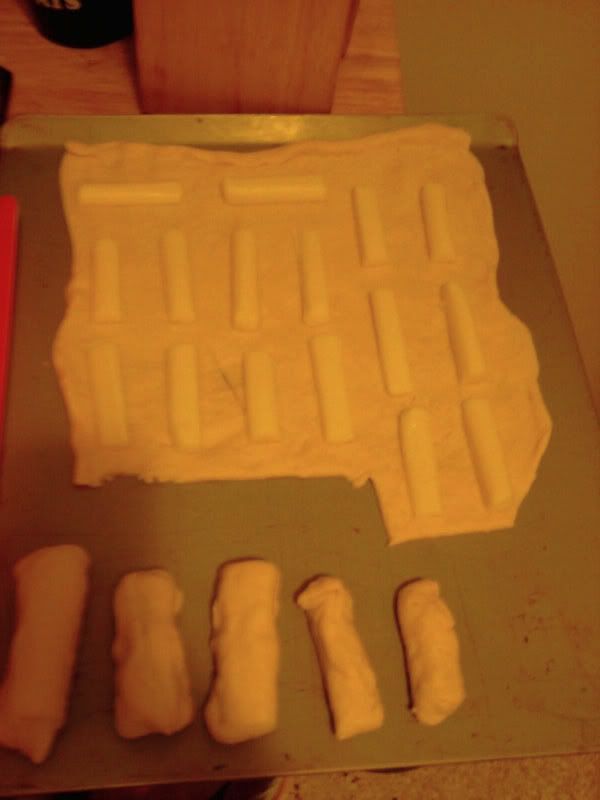
  • Cut string cheese in half, and then cut them in half lengthwise.
  • Place pieces of cheese on dough, leaving about 1/4-1/2 inch between each piece.
  • Cut the dough around each piece; should be a rectangular shape.
  • Cover the cheese with the dough, making sure all the seams are securely closed.
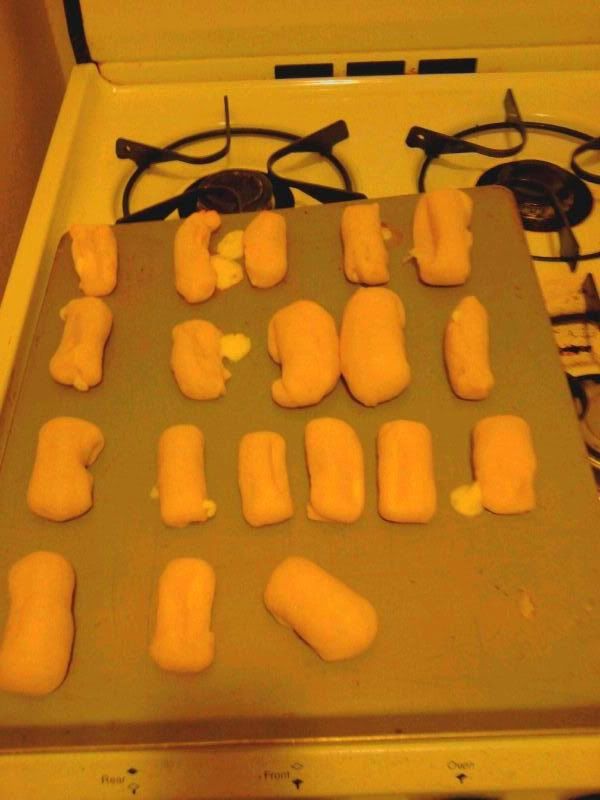
  • Put on cookie sheet and cook for about 10 minutes, or until lightly browned.
  • Serve with dipping sauce of your choice.


My Take
I made a couple that were just cut in half once, but I thought they were a bit too big. I liked them smaller, plus they would work better for appetizers, in my opinion.

I dipped my breadsticks in marinara sauce, which was very tasty.

I asked Dylan if they needed any other seasoning, and he said they were good the way they were, so I'm marking this down as a success. 

Also, I think I only used half a package of string cheese, but I'm not quite sure. I bought a full package, so that's what really counts, right? :p


Bursting with ooey gooey cheesy goodness.