Showing posts with label recipes. Show all posts

Wednesday, September 25, 2013

Comforting Chili


It's now officially fall, and with it comes cooler weather. With cooler weather comes warm homemade soups. I'm really the only one in the house who eats soup (though Lu may when she's a bit older) so I tend to freeze quite a bit of mine and munch on them all year long. However, the one "soup" my husband loves is my chili. I tried making a Cincinati chili once, and it was awful. I came across this recipe, adjusted it to our tastes, and this is our go-to chili from now on. I know Dylan likes a bit more of a kick to his, but honestly, I can't take that much more. So, I figure if he wants more, than he can add some jalapñeos or something. ;)

Ingredients

  • 2 pounds lean ground beef or turkey
  • 1 (29 oz) can tomato sauce
  • 46 oz petite cut canned tomatoes not drained
  • 1 (15 oz) can dark red kidney beans, drained and rinsed
  • 1 (15 oz) can light red kidney beans, drained and rinsed
  • 1/8 teaspoon ground cayenne pepper
  • 1/2 teaspoon white sugar
  • 1/2 teaspoon dried oregano
  • 1/2 teaspoon ground black pepper
  • 1 teaspoon salt
  • 1 1/2 teaspoons ground cumin
  • 1/4 cup chili powder
  • 1/2 teaspoon onion powder
Directions
  • Brown ground meat in a large pot. Season with the onion powder. Drain and place back into the pot.
  • Into the pot, add the tomatoes, tomato sauce, kidney beans, cayenne pepper, sugar, oregano, ground black pepper, salt, cumin, and chili powder. Bring to a boil over high heat, then reduce to low. Simmer for 1 1/2 hours.
My Take


As you can see in the pictures, I have several cans even though my ingredients just state one. Sometimes I can't find the right size of can, so I just get however many ounces I need, no matter how many cans it takes. Ha! I also tend to use 1 pound of ground beef and 1 pound of ground turkey. I usually use ground turkey in everything, though Dylan isn't a huge fan of it, so I compromise in this dish, and it comes out great since you cook them all together.

I'm sure you can cook this in the slow cooker, yet I've never done this before. I would cook it on low for 8-10 hours. That would be great for a dinner coming home from work during the cold weather days. 

Wednesday, September 4, 2013

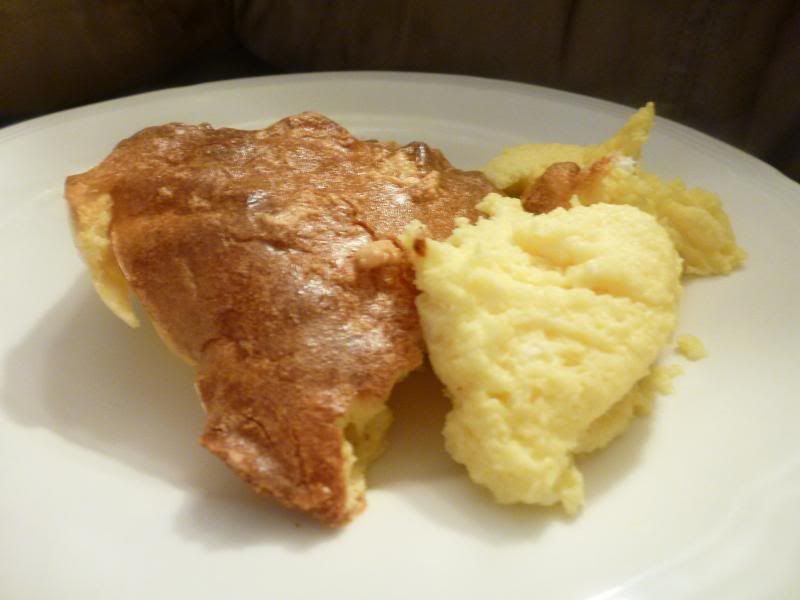
Cheese Souffle


Whenever I have anything that has the word "souffle" in it, I judge it against his recipe. This tastes so cheesey and is so light and fluffy, it's hard not to like. Back when I had braces, every time I got them tightened, I asked my mom to make this as I couldn't chew anything else.


Ingredients

  • 1/4 cup butter or margarine
  • 1/4 cup flour
  • 1/2 teaspoon salt
  • 1 cup milk
  • 8 oz. Velveeta, cubed
  • 4 eggs, separated
Directions
  • Preheat oven to 300° F.
  • In a medium sauce pan, melt butter. Blend in flour and salt. Add milk all at once; cook over medium heat, stirring, until mixture thickens and bubbles. Remove from heat. Add cheese; stir until cheese melts.
  • Beat egg yolks until very thick and lemon-colored. Slowly add to cheese mixture, stirring constantly; cool slightly.
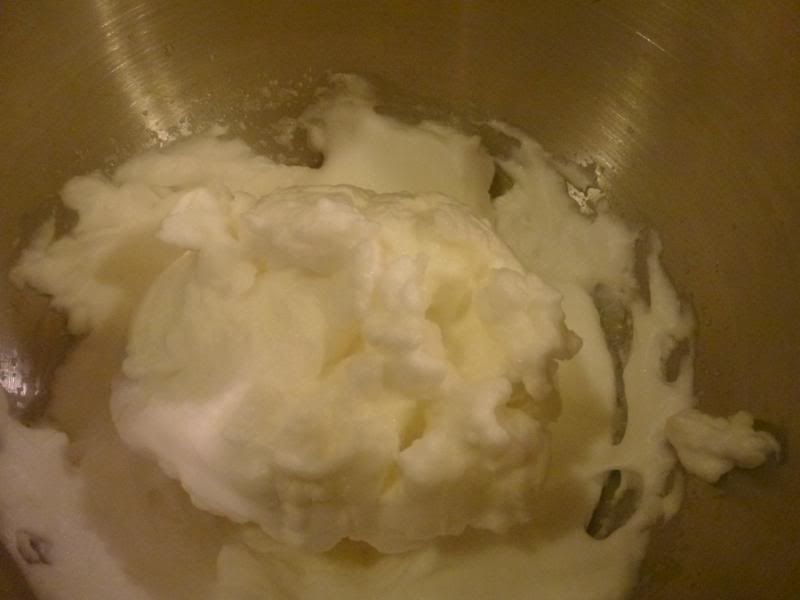
  • Beat egg whites to stiff peaks. Gradually pour yolk mixture into egg whites; fold together well.
  • Pour into ungreased 1 1/2 quart souffle or casserole dish. Bake for 1 1/4 hour, or until knife inserted off center comes out clean.

My Take
As I slowly try to cut out processed foods, I look at this recipe and wonder how I can get that super cheesey flavor without using Velveeta and using just natural cheeses. If anyone has any suggestions as to what cheeses I should start with, that would be awesome. I'll update ya'll and let you know if I find anything that works great.

Wednesday, August 28, 2013

Banana-Raisin Pancakes


School has started for many families. Even though my little one isn't in school, a nutritious breakfast is still a must. And because I'm not a morning person, I want something quick and easy.

Pancakes are great, but sometimes I find them a bit...bland. I need variety! I need spices! This recipe delivers that. The bananas have  agreat flavor and really keeps the pancakes moist, while the raisins add textural variety (which, according to a lot of Food Network shows, is very important). The cinnamon really brings both flavors together.

Banana-Raisin Pancakes
(Printable Version)

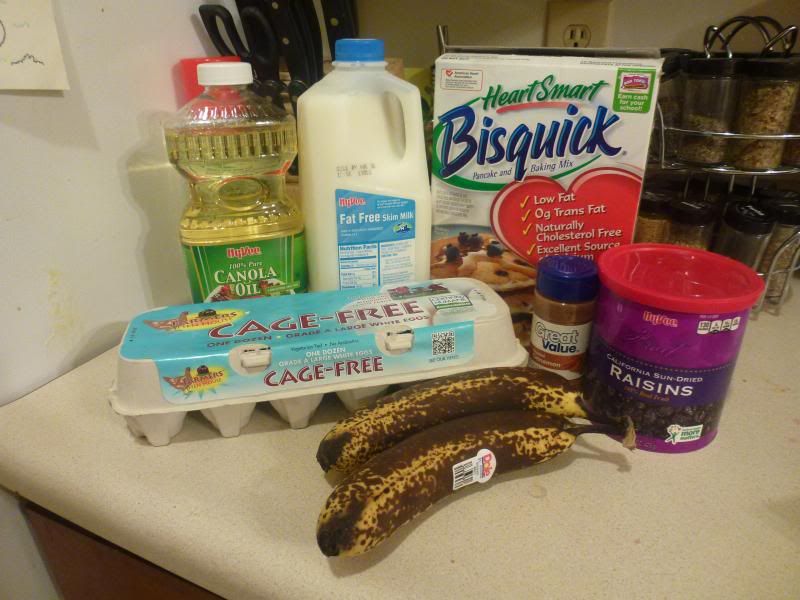
Ingredients


  • 2 medium bananas
  • 1 egg
  • 3/4 cup lowfat milk
  • 1 tablespoon vegetable oil
  • 1 cup pancake/waffle mix
  • 1/2 cup raisins
  • 1/8 teaspoon ground cinnamon
Directions
  •  Break up bananas into a mixing bowl. With the back of a fork, mash until smooth. Add egg, milk, and oil; combine.
  • In another mixing bowl, combine pancake mix, raisins, and cinnamon. Add pancake mix to banana mixture and stir until moistened.
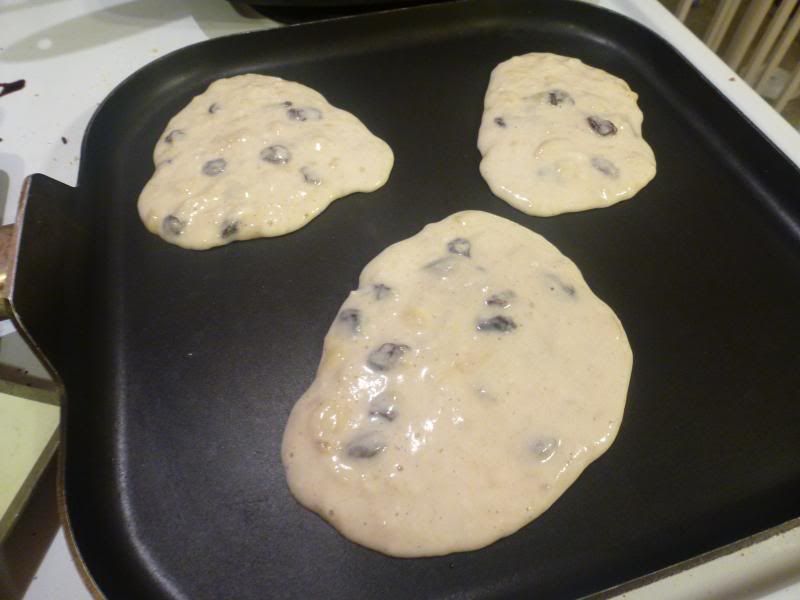
  • Heat skillet over medium high heat. Measure 1/4 cup batter and pour onto skillet. Cook as many pancakes as you can at one time. 

  • Brown the underside of the pancake, and when bubbles appear on the surface and the edges start to appear "dry", carefully flip pancakes over and continue cooking for another minute. 
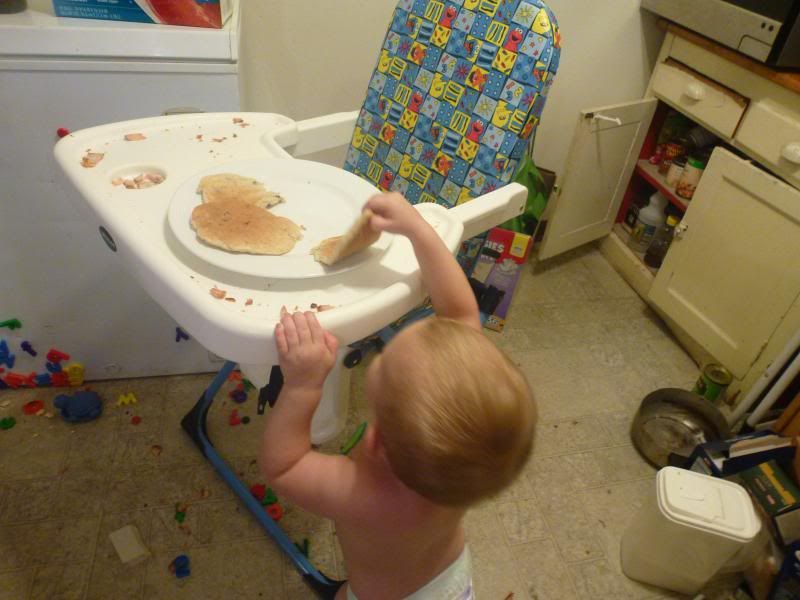
Little L snitching pancakes before I was done cooking

My Take


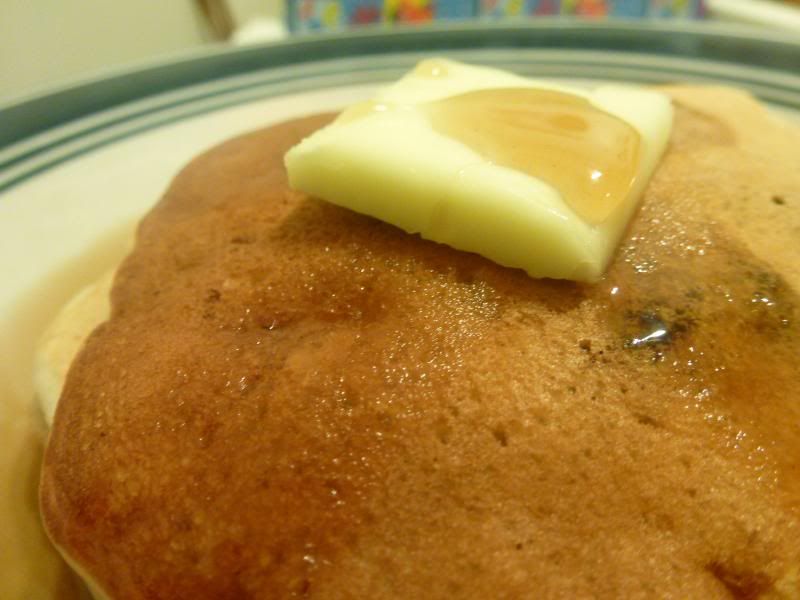
I love these pancakes, and due to the sweetness the bananas bring to the party, I rarely eat them with syrup. Instead, I use a touch of butter, and just chow down on them that way.

A quick tip: The riper the banana, the easier it is to mash, thus giving you a smoother batter. You can tell how ripe mine are in the picture, and they were super easy to mash with the back of my fork. Though, I don't mind finding pieces of bananas in my pancakes. :)

Wednesday, August 21, 2013

Any Flavor Cookies


Here is a dessert that you can have a different flavor everytime you make them with no additional effort. These are my "Any Flavor Cookies". They're super easy to make, have very few ingredients, and they're super yummy! I first made these back in college and we called them "Magical Cookies" because they tasted so good.

Any Flavor Cookies
(Printable Version)

Ingredients

  • 2 cups Cool Whip
  • 1 egg
  • 1 box cake mix (any flavor)
  • Powdered sugar
Directions


Mix all ingredients until a sticky batter is formed. Put about a cup or so of powdered sugar into a bowl.


Drop the batter by spoonfuls into the sugar and roll it around until well covered. Place onto a cookie sheet and bake at 350°F for 7 minutes.


My Take

I had a heck of a time when I was making these cookies for this post. This was coupled with other kitchen fiascos that day. My issue with the cookies was I ran out of Cool Whip befor the batter got moist. After I thought about it for a bit (and did some research online), I figured the Cool Whip takes place of the oil and water in the regular recipe, so I added a little bit of water. This moistened the batter, and I hoped it wouldn't hurt the flavor. Fortunately, this worked. So if your batter is still a little dry-ish after adding the Cool Whip, just add a little bit of water.

Wednesday, August 14, 2013

Peanut-Free Puppy Chow

Growing up with peanut allergies meant that a lot of foods were off limits for me: Snickers, Butterfingers, PB&Js, a lot of Thai food, and a ton of different desserts. One of those desserts I wasn't allowed to enjoy was Puppy Chow. It always looked so good. I mean, chocolate with powdered sugar!?

Fortunately my mother came up with a way for me to enjoy this wonderful-sounding dessert. Instead of using peanut butter, she used butterscotch chips. My husband, after he tried this for the first time, said it was even better than the original puppy chow. This stuff is so good my family has it every year at our New Year's celebration.

So, without further ado, here's the recipe:

Ingredients

  • 1 cup milk chocolate chips
  • 1 cup butterscotch chips
  • 6 cups Kellog's Crispix cereal (Non-name brand is fine as well)
  • 1 cup confectioner's sugar (aka powdered sugar)
Directions

  •  In a large microwave-safe bolw, melt chocolate and butterscotch chips on high for 1 minute. Stir and heat an additional 30 seconds on high or until melted. 

  • Pour mixture over cereal.
 
  • Place cereal in 2-gallon zip-top bag. Add coated cereal to sugar and close bag tightly. Toss bag until cereal is thoroughly. coated with sugar. 
  • Store in airtight container in refrigerator.


My Take

When making this to take pictures for this blog, it was honestly the first time I've ever made this. I grew up eating it, but never participated in the creation of it. Fortunately, it was super easy to put together, and takes less time than chex mix. Be careful, though. You may find it slightly addicting!

Tuesday, April 23, 2013

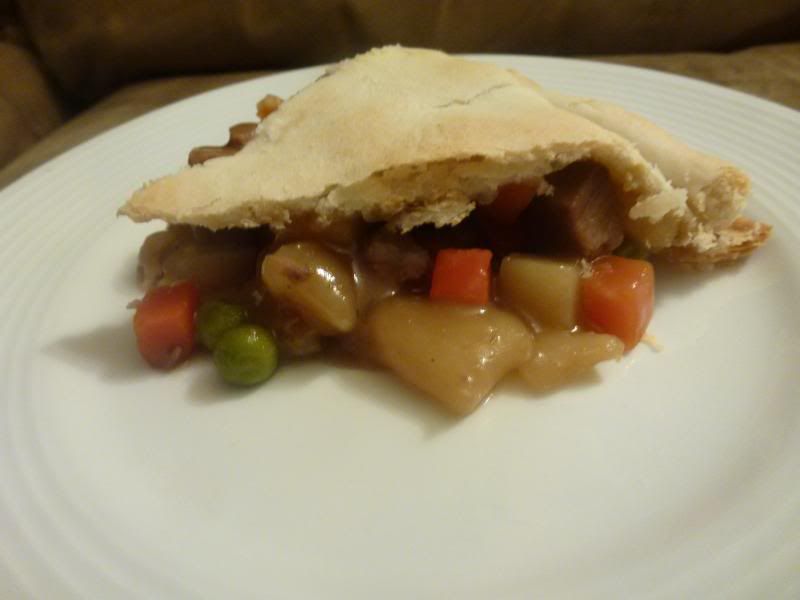
Beef Pot Pie


Whenever I make pot roast, I always have too much leftovers. Dylan isn't a huge fan, and there's only so many days in a row in which I can eat pot roast. That's when I decided that I needed to figure out how to use up these leftovers so I wasn't throwing away food. My first idea was a recipe I remember eating as a kid, Beef and Noodles.

Then, one day, I got a brilliant idea. I love those cheap little beef pot pies that you buy in the frozen section, and I was craving one. Sadly, they aren't the greatest thing in the world for you. So I decided I was going to make my own. My first attempt was OK, though it was pretty bland as I didn't add any salt or other seasonings, assuming the gravy packets and the seasoning from the meat would take care of it. (Spoiler: They didn't.) So here is my improved recipe.

Beef Pot Pie
(Printable Version)

Ingredients
  • 2 packages brown gravy mix
  • 2 pre-made pie crusts
  • 2 organic russet potatoes, skinned and diced
  • 2-3 carrots, diced
  • 1 cup leftover pot roast, diced
  • 1/2 cup mushrooms
  • 1/2 cup frozen sweet peas, thawed
  • Salt
  • Pepper
  • Onion powder
Directions
  • Put bottom crust in a 9 inch pie pan. Either poke a few holes in the bottom with a fork, or use dried beans or pie weights to keep it from bubbling up. Bake in a preheated 450 F oven for 7-9 minutes or until slightly browned.
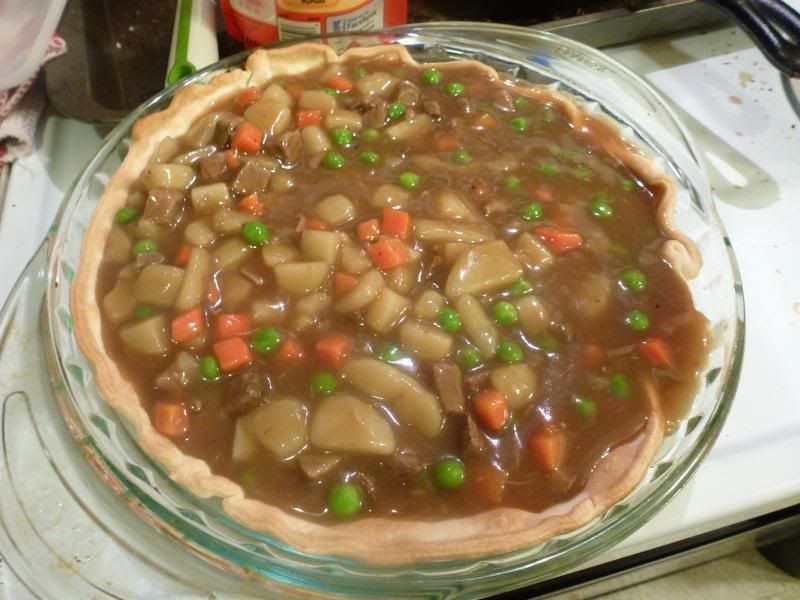
  • Meanwhile, cook gravy according to packages. Add the potatoes and carrots and simmer for about 15 minutes or until veggies are tender. Add the roast, mushrooms, and sweet peas and mix well.
  • Taste gravy and add salt, pepper, and onion powder to taste.
  • Pour the gravy mixture into the baked pie crust. Cover with the second pie crust. Put a couple of vent slits on the top.
  • Bake in the preheated oven for 9 minutes or until the top crust is golden brown. Let sit for 15 minutes before serving. 

My Take 

I didn't measure how much salt, pepper, or onion powder I put in. For salt it was probably close to 1/4 teaspoon or more. The pepper and onion powder was only a dash. But take my advice, taste the gravy! Once you put it in the pie crust, you won't have a chance to season it, so make sure you get it right the first time, otherwise you're going to have a bland pot pie.

You also want to cut up your potatoes pretty small. The first time I made it, the potatoes were too big and took over the whole thing.

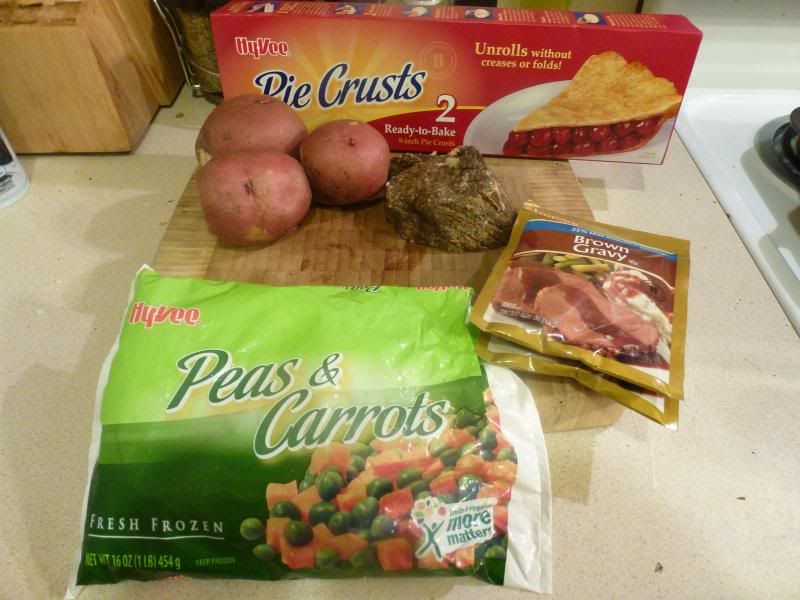
Because this is a leftover dish, you can use whatever veggies you want. For instance, even though the recipe calls for carrots, I usually use the cooked carrots leftover from my pot roast and add them in when I add in the peas. This time, though, I didn't have any, as my baby carrots went bad. So, I used the frozen pea and carrot combo, and it worked out great. I also didn't have any mushrooms on hand, so I just omitted them. Yet, it still tasted great.

And remember, you can always sub your own homemade crust for the pre-fab ones. I'm not very good at making crusts (a future project of mine) so I just always buy the pre-made ones for now. I'm sure this would taste even better with a homemade crust. :)

Wednesday, April 10, 2013

Simple Pot Roast with Vegetables


When I think of pot roast, I think of family dinner after church on Sundays. It was a special meal with mashed potatoes and gravy, delicious cooked carrots, and ketchup. (My brother and I apparently didn't have very good taste buds when we were kids). Sadly, my husband isn't a huge roast fan, but I love it, so I've been on the hunt for a good roast recipe. I found several while searching the internet, but all of them used packets of gravy or dressings and it just sounded too salty for me. I also didn't want that much salt, because I was planning on feeding Lucy some.

So I do what I've done recently when I haven't found exactly what I'm looking for: I made something up. And this turned out great. More to follow after the recipe.


Ingredients
  • 3-5 pound bottom round roast
  • 1 (14.5 oz) can low sodium beef broth
  • 5-6 organic russet potatoes, skinned and quartered
  • 10-15 baby carrots or 3-4 large carrots cut into bite-sized pieces
  • Salt
  • Pepper
  • Garlic powder
  • Onion powder
Directions

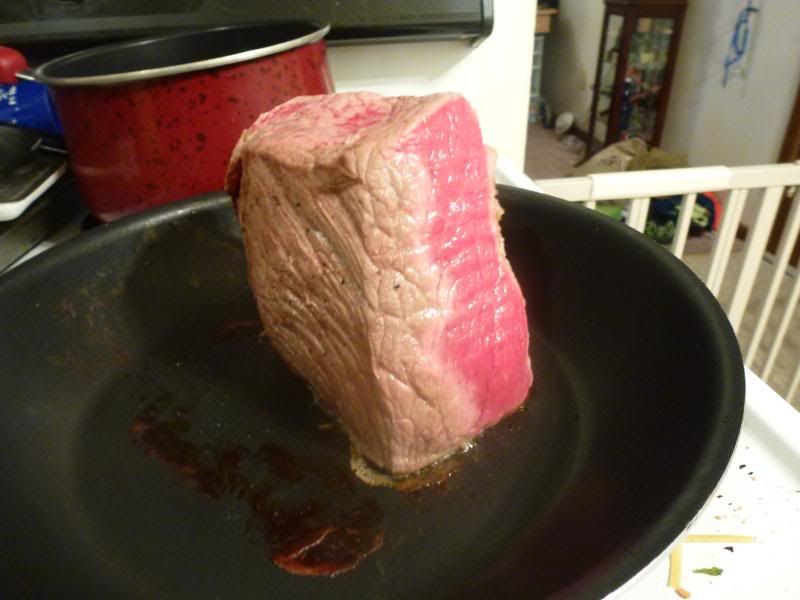
You have to get inventive sometimes to get all the sides brown

  • Season the roast with a pinch of salt and pepper. In a large non-stick skillet, brown all sides of the roast. 

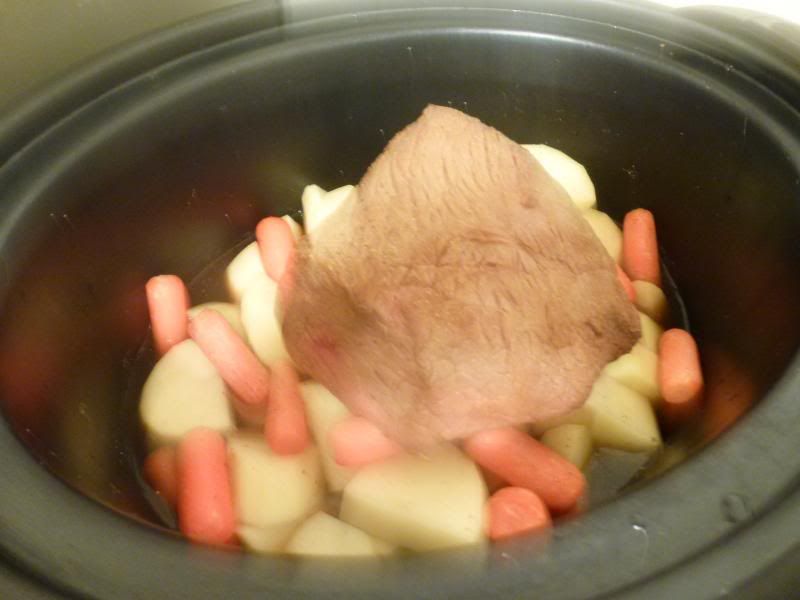
  • Place the potatoes and carrots in the bottom of your slow cooker. Place the roast on top. Pour the beef broth over the roast and vegetables. Season the roast with a sprinkling of the garlic and onion powders.
  • Cook on Low for 8 hours, turning the roast over about halfway through. Roast is done when meat thermometer reads 160°F. Allow the roast to rest for 15-20 minutes before carving, allowing the juices to set.


My Take

I love how this yummy roast can be achieved by just a few simple ingredients. They aren't overpowering and really allows the meat to take center stage.

What I like to do is to take the potatoes out about 30 minutes before the slow cooker is done and use them to make mashed potatoes. I find that when I cook them with the meat, they get a wonderful flavor. And as an added bonus, pot roast makes wonderful leftovers! I also strain the liquid leftover, heat it up in a saucepan with some flour, and make a gravy which I use on the whole meal. Sometimes I do have to add some salt since there isn't a lot added in the cooking of the meat.

Thursday, April 4, 2013

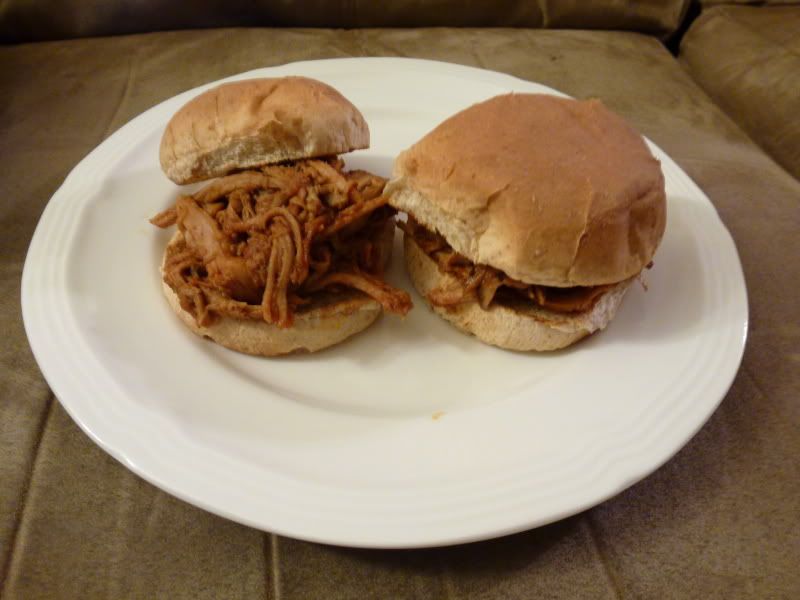
Root Beer BBQ Pulled Pork

I had heard about cooking pork in root beer and making pulled pork out of it, but I had never tried it. In fact, I had never even attempted to make pulled pork at home. When I go to a BBQ place, pulled pork is high on my list to order, so I figured I would try making it at home. I love the taste of root beer, so I figured I would do an Internet search and find a recipe I could easily do. The first one which caught my eye was this one. The first time I made it, I followed the recipe to the letter, but then I read the comments, so the next time I made it, I adapted it to what it is today.


Ingredients
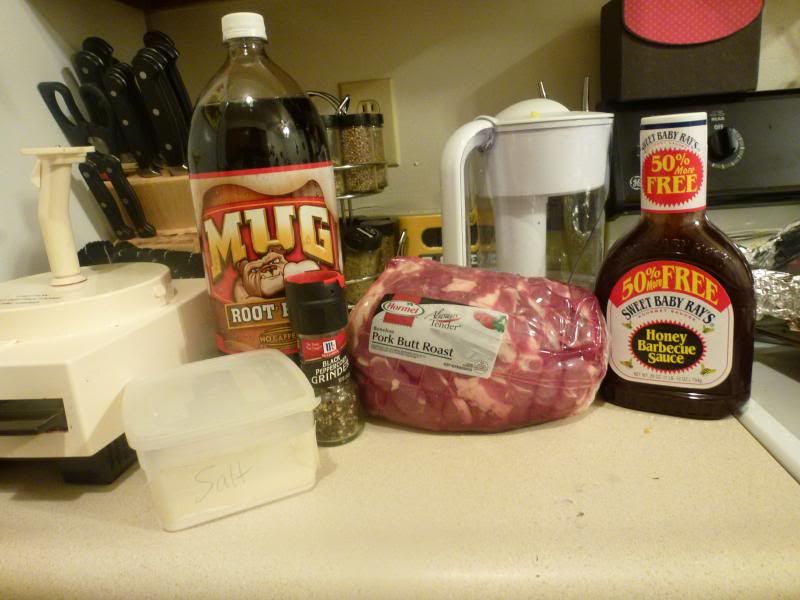
  • 1 pork butt (shoulder), trimmed of any excess fat
  • 1/2 (2 liter) bottle of root beer (I personally prefer to use A&W. Has a sweeter taste than some others)
  • 1/2 (28 oz.) bottle of BBQ sauce
  • Salt
  • Pepper
  • Garlic salt
  • Hamburger buns, lightly toasted

 Directions

 
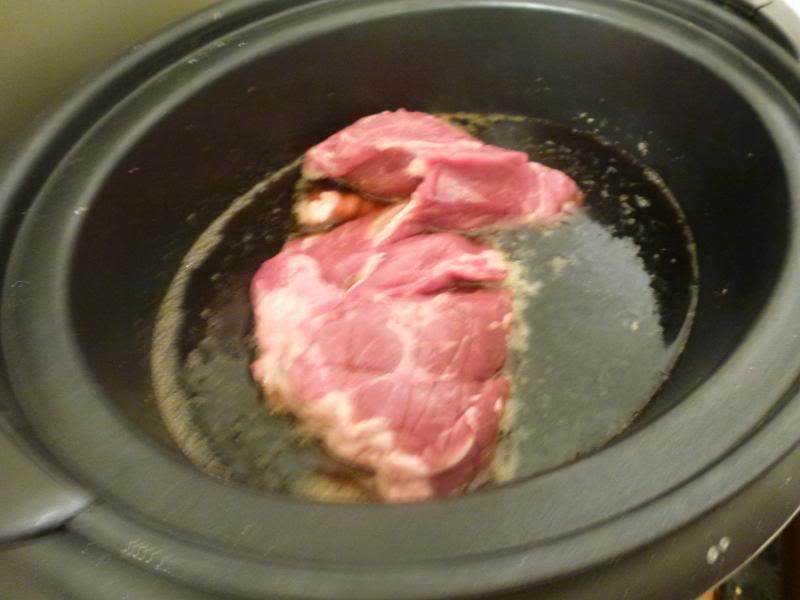
  • Rub the pork butt with a bit of salt, pepper, and garlic salt. Pierce the meat with a fork in several places, then place in a slow cooker.
  • Pour the root beer into the slow cooker, making sure at least half of the meat is covered. 
  • Cook on Low for 6 hours
  • Drain the root beer. Shred the meat with two forks and place back into the slow cooker. Pour the BBQ sauce onto the meat and mix them together until the meat is well coated.
  • Cook on Low for 1 hour.
  • Serve on lightly toasted hamburger buns. 


My Take

This is a sweet BBQ recipe, but it's one that is loved in my household. I love being able to make pulled pork at home and not have to wait to go to a BBQ place to get it. The root beer and BBQ sauce measurements are just estimations. I typically have to eyeball them. For the BBQ sauce, make sure your meat is well coated, otherwise the meat will dry out. 

Wednesday, March 27, 2013

Tie-Dye Fruity Cupcakes


Just in time for the Easter season, here's a fun little cupcake which has a nice spring time twist. I originally found these on Pintrest from the Jell-O website. I originally posted about these last year on my Domestication blog, but since I don't have many desserts on here, and it's now officially springtime, I thought I would re-post them over here. :)


Ingredients
  • 1 package (2-layer size) white cake mix
  • 1/4 cup dry lemon Jell-O (about half a package)
  • 1/4 cup dry lime Jell-O
  • 1/4 cup dry strawberry Jell-O
  • 1 container (16 oz) ready to spread vanilla frosting
Directions
  • Prepare cake batter as directed on package; divide evenly into 3 bowls.
  • Stir a different flavor of the Jell-O mix into each bowl.
  • Alternatively spoon batters into 24 paper-lined muffin cups, adding about 2 tablespoon of each batter to each cup. Bake as directed on package for cupcakes. Cool completely.
  • Frost cupcakes with frosting.

 My Take

These were wonderful. I think when I originally made them, I had a bit too much strawberry, so that was the main flavor that came through. This gave me great ideas as how to flavor cupcakes with other Jell-O flavors. I want to try a triple berry one sometime, but haven't gotten around to it yet.

A suggestion they had on the original post was to use Cool Whip as the frosting and sprinkle a little bit of the dry Jell-O mix on top. I didn't do that. I used whipped vanilla frosting and then colored a little bit of unsweetened dried coconut green and added that on top. I thought they turned out pretty well, so I'm looking forward to making them again this year.

Monday, March 25, 2013

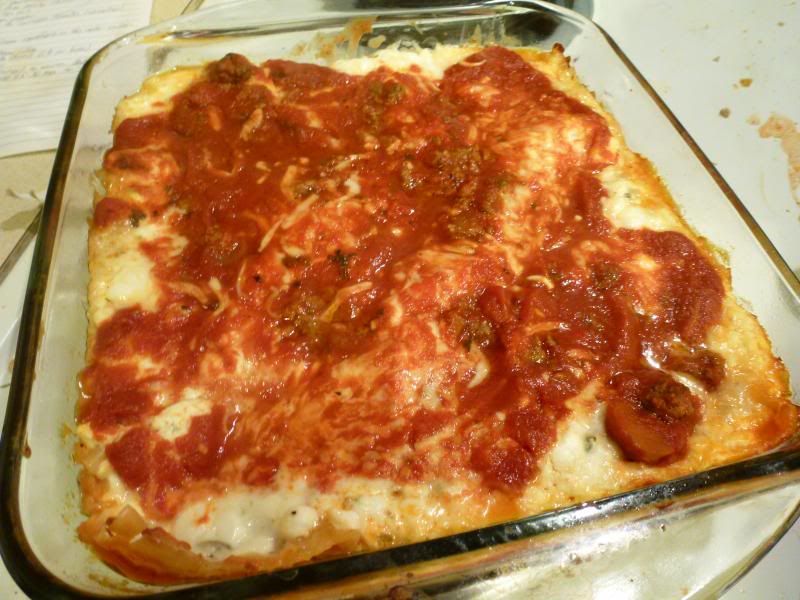
"Bay Creek Camp" Lasagna


This title may seem a bit strange to you. "What is 'Bay Creek Camp'? Why are they making lasagna?" Well, Bay Creek is the name of a church camp that my parents worked at for a week each summer when I was growing up. This is the recipe which they used to feed all those hungry kids and teenagers. This is a huge recipe designed to feed 20 (though you may be able to squeeze more out of it, depending on how big you cut the pieces). I've cut it down in half before, but it still made waaaay too much for just my husband and I. So now I make it designed to feed about 5 people. Enough for us and enough for leftovers. I'm going to give you the original recipe. That way you can use it for all those big family reunions, pot lucks, and for when company comes over.

"Bay Creek Camp" Lasagna
(Printable Version)

Ingredients
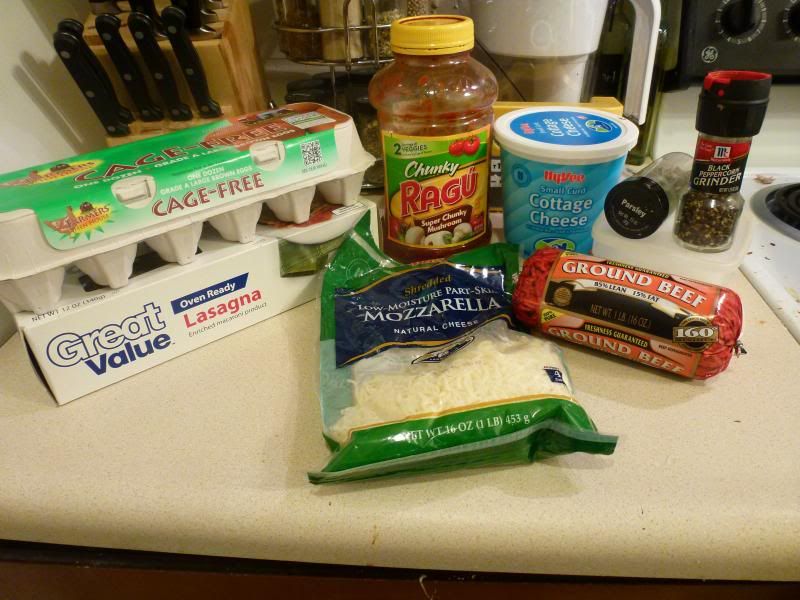
Forgot the Parmesan...oops....

  • 2 pounds ground beef
  • 6 1/2 cups spaghetti sauce
  • 2 pounds shredded mozzarella cheese
  • 6 cups cottage cheese (I tend to use small curds)
  • 4 eggs
  • 1 cup grated Parmesan cheese
  • 4 tablespoons parsley
  • 2 teaspoons salt
  • 1 teaspoon pepper
  • 1 1/2 pounds lasagna noodles (uncooked)
Directions
  • In a large sauce pan, brown the beef. Drain. Add the spaghetti sauce and mix together.
 
  • Combine the cottage cheese, eggs, Parmesan cheese, parsley, salt, and pepper together in a seperate bowl. Mix until well blended.
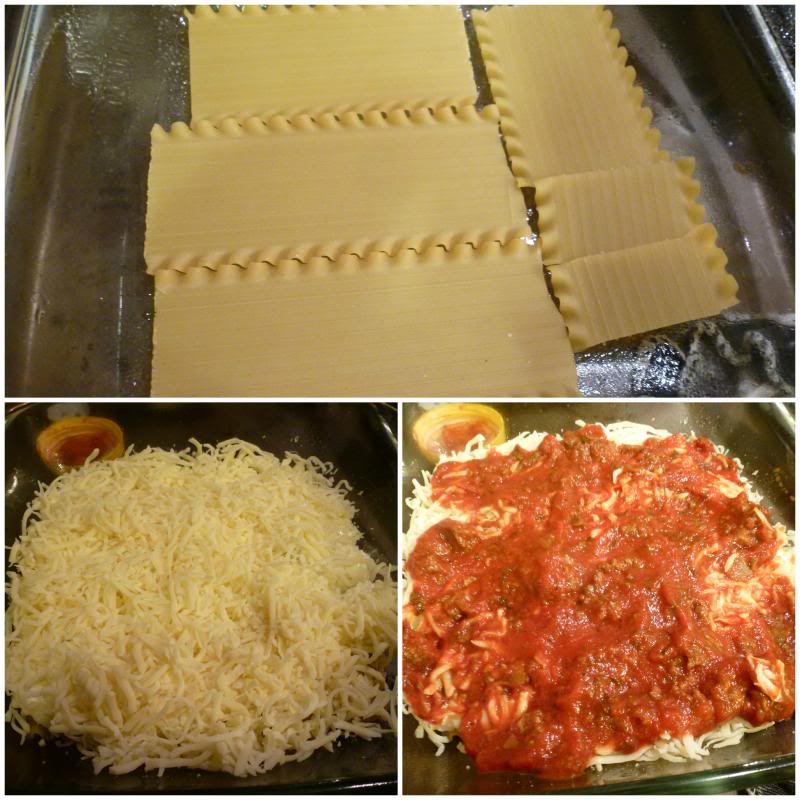
  • Spray a 12" x 20" pan. Layer the ingredients in this order, twice:
    • Noodles
    • Cottage cheese filling
    • Mozzarella cheese (1 pound per layer)
    • Meat sauce
Forgot to take a picture of the cottage cheese layer
  • Cover and chill overnight. 
  • Preheat oven to 375°F. Set lasagna out to warm.
  • Bake for 45 minutes, covered.
  • Let stand for 25-30 minutes to set up.


 My Take


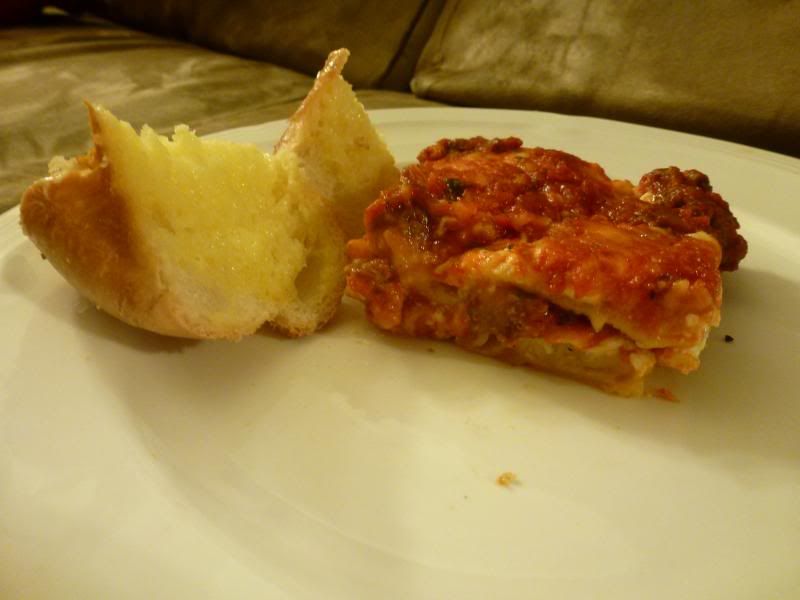
It's hard for me to say anything bad about this lasagna, as it's the one I grew up with. Not only was it the one they made for us at camp, but it's also the one my mom always makes. You can substitute ground turkey instead of beef which is usually what I do, but I had some ground beef that needed to be used up this time around. I'm thinking next time I may use Italian sausage and see how that adds to the flavor.

Please note that you need to let it chill overnight if you are using regular uncooked lasagna noodles. When this recipe was made, they didn't have those fancy oven ready noodles. I did use the oven ready kind, but I still chilled it over night. I'm not 100% sure if I needed to do that, but better safe than sorry.

Do you have a family recipe that you love and use on a regular basis? If so, what is it? Share with us in the comments. :)

Tuesday, March 19, 2013

Slow Cooker Mexican Chicken


I found this recipe while perusing Pintrest one day. I was very doubtful of its flavor, as it only has 3 ingredients, but since I had all the ingredients on hand, I decided to try it. Honestly, I will never make chicken for tacos another way! I didn't realize that I hadn't put it on this blog (had actually posted it on my Domestication blog) so here it is for your enjoyment.

Ingredients
  • 6 boneless skinless chicken breasts
  • 1 (16 oz) jar salsa
  • 1 package taco seasoning OR 3-4 tablespoons homemade taco seasoning
Directions

Everybody into the pool!

  •  Dump chicken, salsa, and taco seasoning into your slow cooker. Stir a bit so the taco seasoning and salsa blend together.
  • Cook on low for 5 hours. Shred chicken and stir until well mixed.
  • Cook on Low for one more hour.
Shredded chicken


My Take

That's it! It's that simple. You can even let it cook a bit longer (6-8 hours) before shredding it, but I highly recommend letting it cook after you shred it for a bit. That way, the shredded chicken will soak up all that flavor. I love to eat these on flour tortillas with tomatoes, shredded lettuce, sour cream, and black olives. I've also used the leftovers to make a taco casserole, which turned out wonderful.

Usually when I make this, I only use 2-3 breasts, as I'm the only one in the house that eats it. I could make more and freeze it, but we don't have a lot of freezer space. So, when I make it, I cut everything in half. And, honestly, I just eyeball how much salsa and taco seasoning to use.

Thursday, March 14, 2013

Beef and Noodles


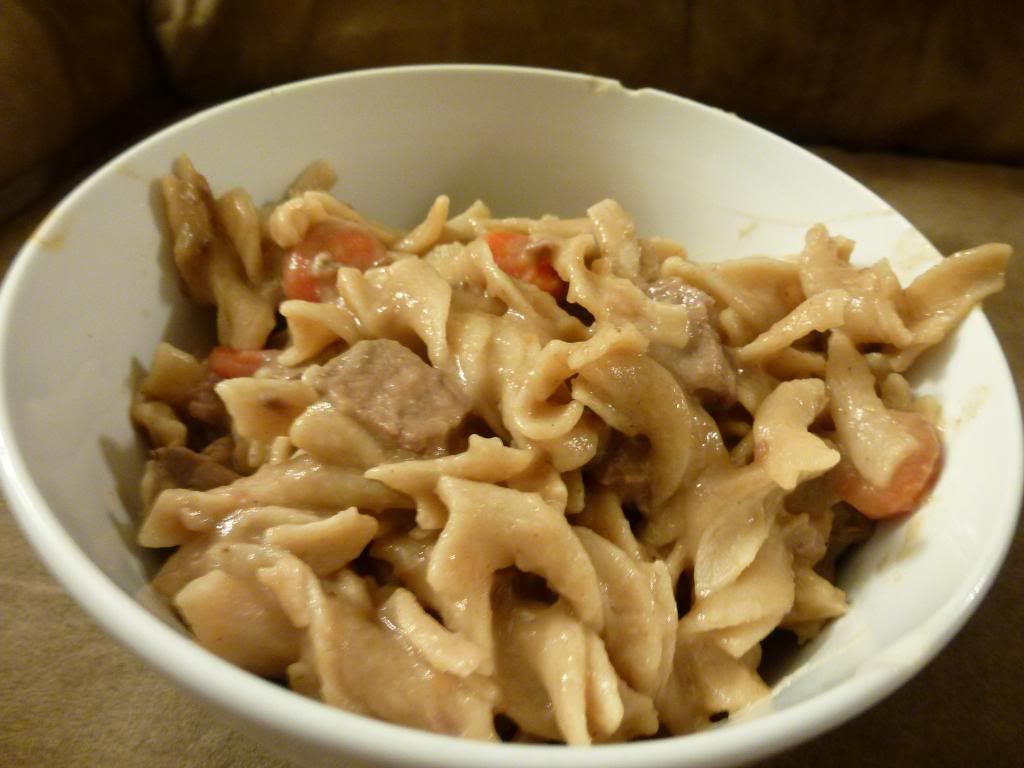
Pot roast is a wonderful meal for a nice quiet family dinner, but what do you do with the leftovers? My mom use to make this wonderful recipe of beef and noodles using the leftovers from our pot roast dinner. I loved it so much, that I have taken the liberty of making it and writing up a recipe for it.

Beef and Noodles
(Printable Version)

Ingredients
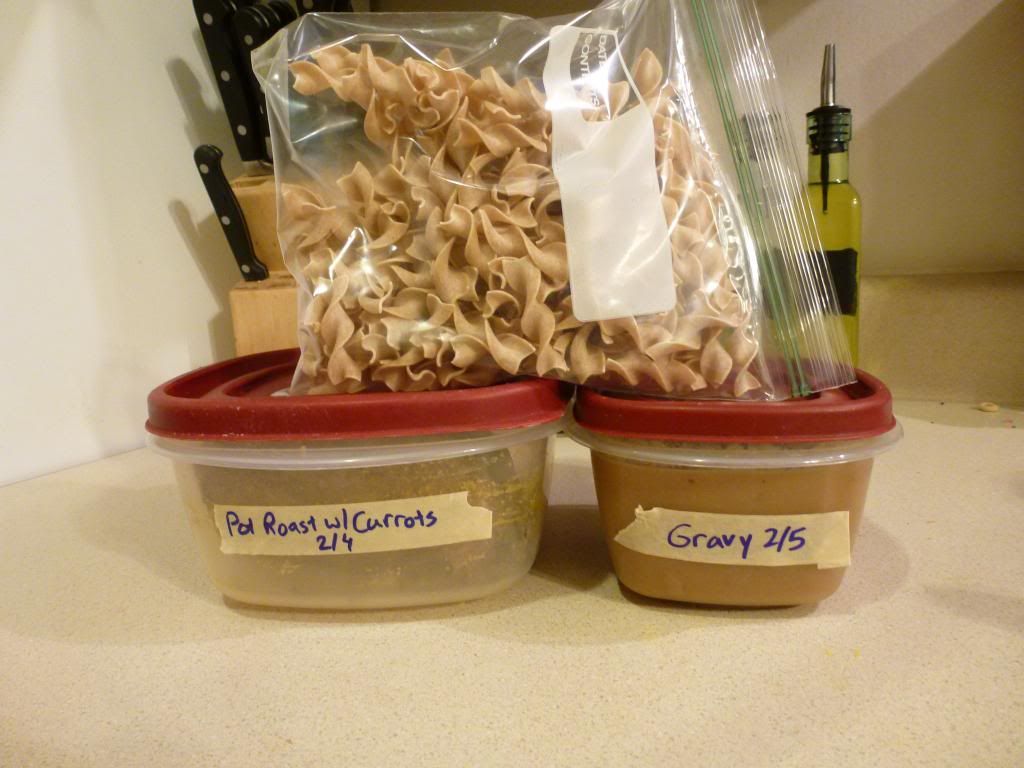
  • 1 cup leftover pot roast, diced or shredded
  • 1/2 package extra wide egg noodles
  • 1 cup gravy
  • 1/2 cup cooked carrots, sliced (optional)


Directions
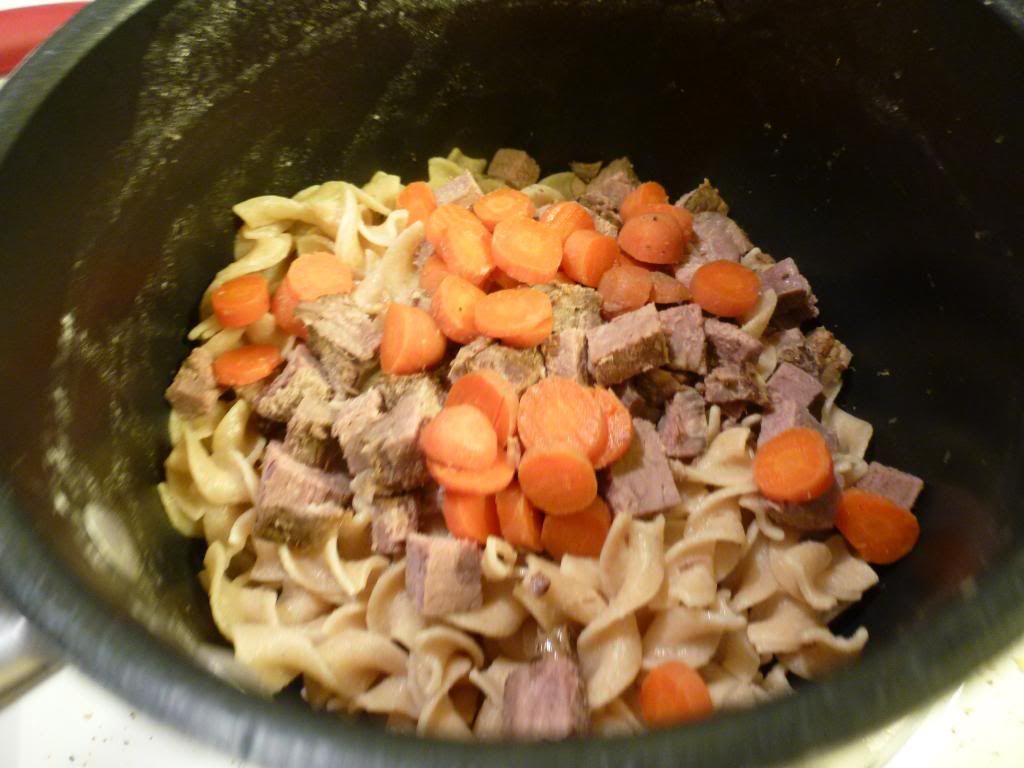
  • Cook egg noodles according to package. Drain.
  • Add roast, carrots, and gravy. Mix well. Cook on low in a sauce pan until heated through.


My Take

And that's it. Pretty easy to throw together and have on a weeknight with a leftover Sunday pot roast. I didn't have to add any extra seasoning since I used everything that was already seasoned, but if you feel it is a bit bland, feel free to add a pinch of salt and some other seasonings. I think I may have added a touch of salt and pepper. You can also add some more veggies to it. I typically just stick with the carrots, as that's what's leftover when I cook a roast, but I think peas would be great as well.

This is a great base which you can personalize and really run with. Have you made this and made  it your own? How did you personalize it?