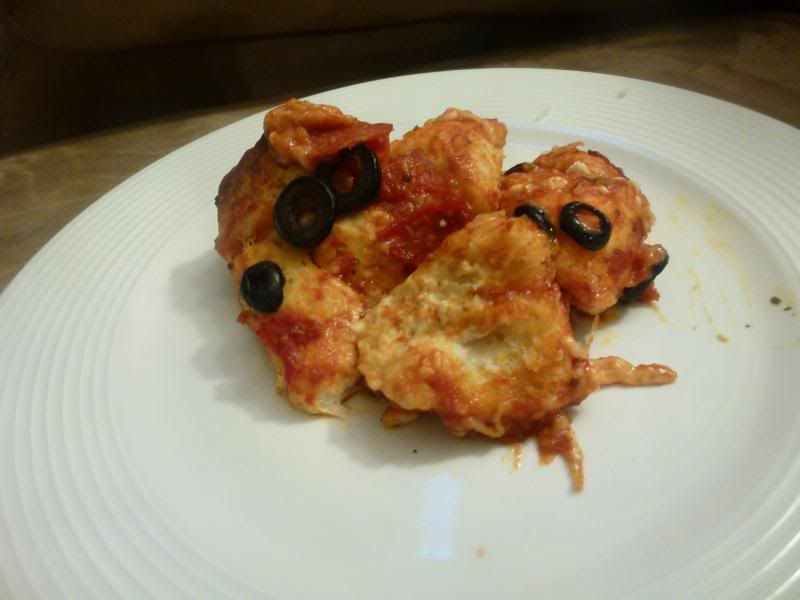
Showing posts with label cheese. Show all posts

Wednesday, September 11, 2013

Bubble-Up Pizza Casserole


This was one of those recipes I found while browsing Pintrest. It sounded interesting and because pizza is one of our favorite meals in our house, I thought I would give it a try. This was an instant hit. I knew my husband really liked it because he ate the leftovers, which is something he rarely does. Another hint that I had hit upon something amazing was just the next week, he asked when we were going to have it again.

Yes folks, I had on my hands a "Pin Win". This is a great recipe because it doesn't really take a whole lot to prep and it's a fun way for the little ones to eat one of their favorite food. You can also reduce the fat by using reduced-fat biscuits and turkey pepperoni, or even a fully veggie one. Go ahead, make your favorite pizza...in casserole form!

Bubble Up Pizza
(Printable Version)

Ingredients
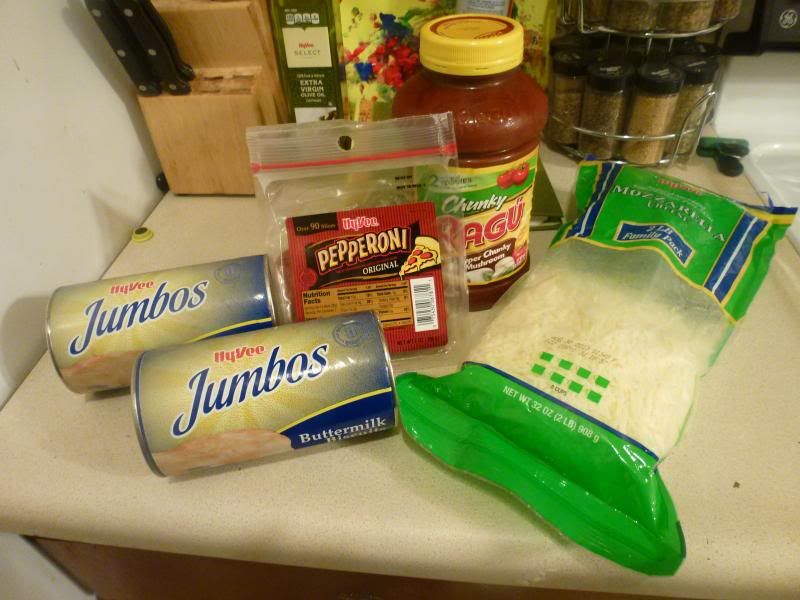


  • 2 cans of canned biscuits (16 biscuits in total)
  • 1 (15 oz) jar spaghetti/pizza sauce
  • 2 cups shredded mozzarella cheese
  • Your favorite pizza toppings (pepperoni, sausage, black olives, mushrooms, onions, peppers, etc.)
Directions
  • Preheat oven to 350°F. Grease a 9x13" baking dish. 
  • Cut up biscuits into fourths. Place in a large bowl. Add in the sauce, 1 cup cheese, and toppings. Stir until mixed well. Place mixture into baking dish. 

  • Bake for 30 minutes, or until bubbly. Top with remaining cheese and bake for an additional 5-10 minutes, until cheese is melted and starting to bubble. 
 My Take


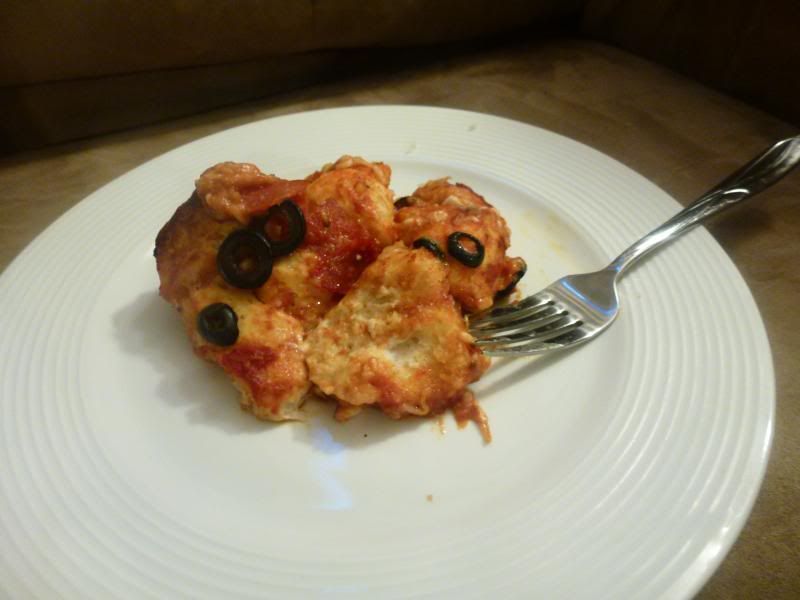
As I said before, this is a huge hit around here. We have it  once a month, at least! There's not really much to it. One thing is that you can either use those baby pepperonis that they have, or, what I like to do, is cut the pepperoni in half. I find that doing this helps distribute the pepperoni more evenly and is more managable to eat.

If there are people that like different toppings, then you can just top the additional toppings before you put the cheese on, like you see with the black olives in the picture above. 

Wednesday, September 4, 2013

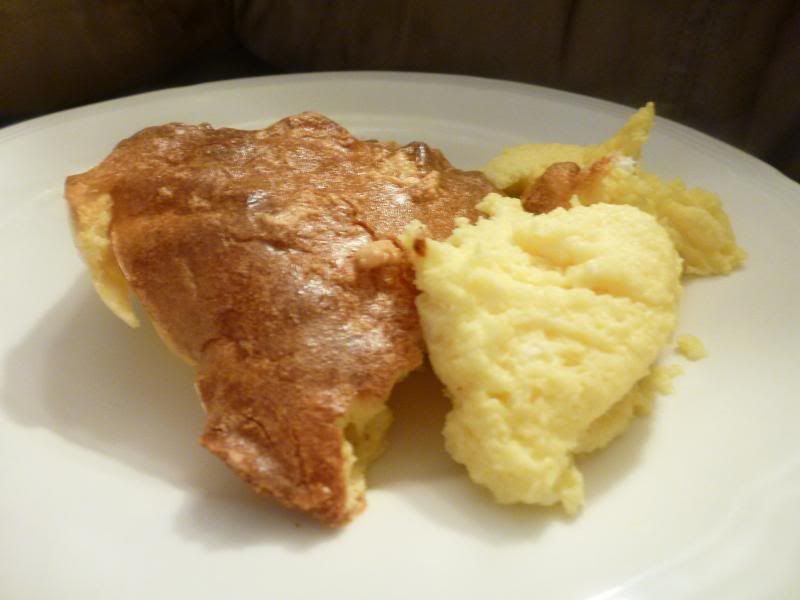
Cheese Souffle


Whenever I have anything that has the word "souffle" in it, I judge it against his recipe. This tastes so cheesey and is so light and fluffy, it's hard not to like. Back when I had braces, every time I got them tightened, I asked my mom to make this as I couldn't chew anything else.


Ingredients

  • 1/4 cup butter or margarine
  • 1/4 cup flour
  • 1/2 teaspoon salt
  • 1 cup milk
  • 8 oz. Velveeta, cubed
  • 4 eggs, separated
Directions
  • Preheat oven to 300° F.
  • In a medium sauce pan, melt butter. Blend in flour and salt. Add milk all at once; cook over medium heat, stirring, until mixture thickens and bubbles. Remove from heat. Add cheese; stir until cheese melts.
  • Beat egg yolks until very thick and lemon-colored. Slowly add to cheese mixture, stirring constantly; cool slightly.
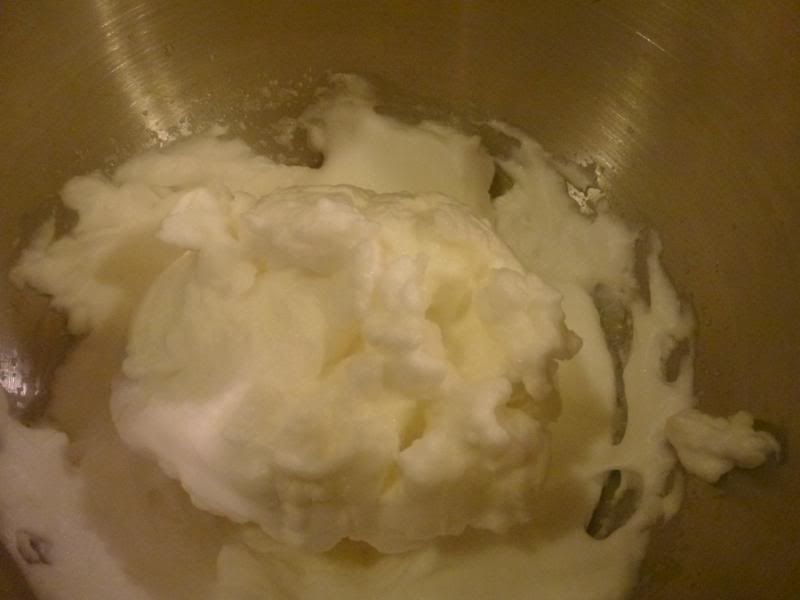
  • Beat egg whites to stiff peaks. Gradually pour yolk mixture into egg whites; fold together well.
  • Pour into ungreased 1 1/2 quart souffle or casserole dish. Bake for 1 1/4 hour, or until knife inserted off center comes out clean.

My Take
As I slowly try to cut out processed foods, I look at this recipe and wonder how I can get that super cheesey flavor without using Velveeta and using just natural cheeses. If anyone has any suggestions as to what cheeses I should start with, that would be awesome. I'll update ya'll and let you know if I find anything that works great.

Saturday, March 9, 2013

Beef Enchiladas


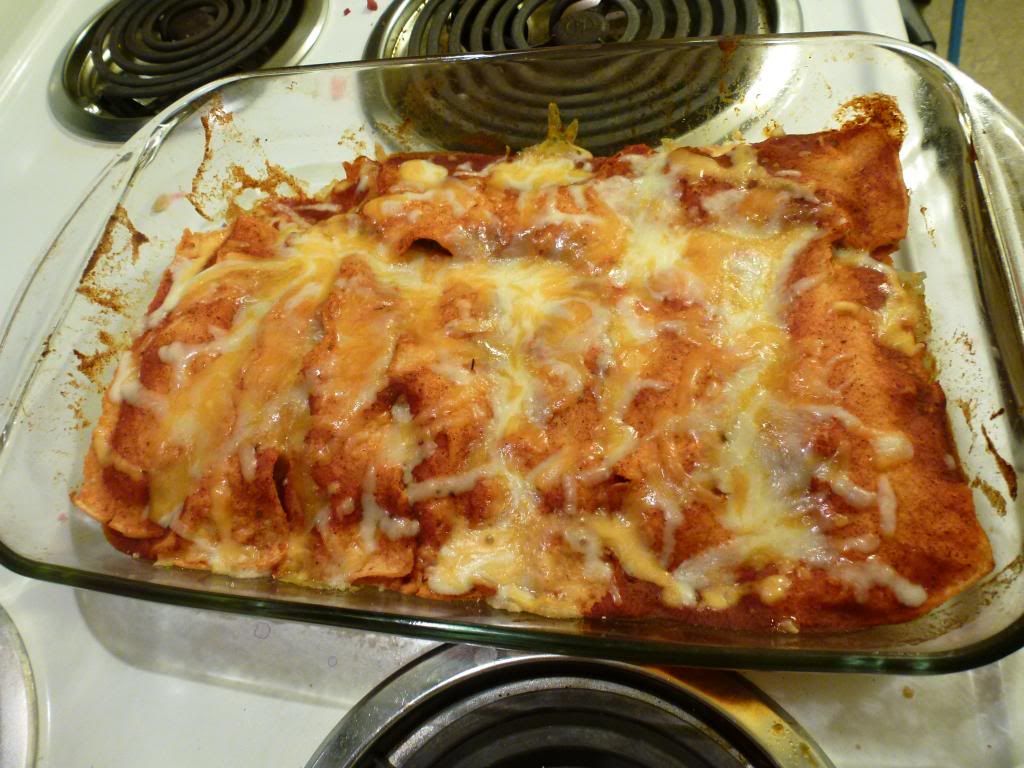
I love Mexican food. When I was pregnant with Lucy, I craved Mexican food all the time. Thankfully, I didn't burn myself out on it, so I still make these amazing enchiladas as often as I'm able. They're probably not totally authentic, but they taste good, so for my American taste buds, they work. I'll talk more about them after the recipe.

Beef Enchiladas
(Printable Version)

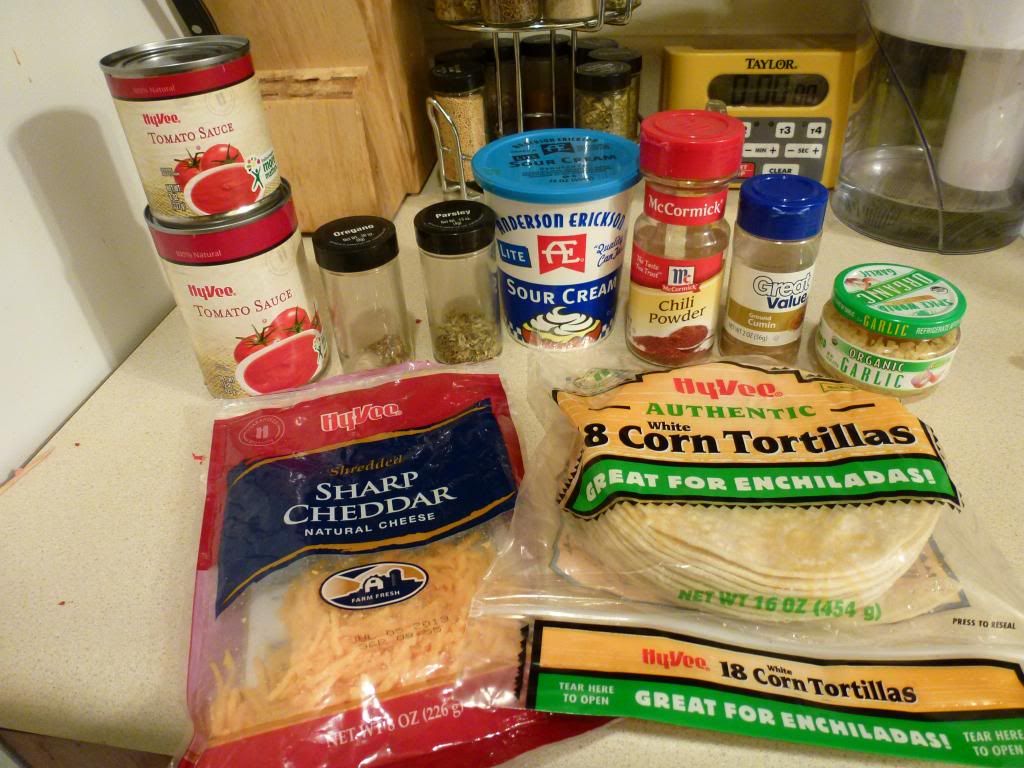
Ingredients
  • 1 pound lean (at least 80%) ground beef
  • 1/2 cup sour cream
  • 1 cup shredded Cheddar cheese
  • 2 tablespoons chopped fresh parsley
  • 1/4 teaspoon pepper
  • 2/3 cup water
  • 1 tablespoon chili powder
  • 1 1/2 teaspoons chopped fresh or 1/2 teaspoon dried oregano leaves
  • 1/4 teaspoon ground cumin
  • 1 clove garlic, finely chopped
  • 1 can (15 oz) tomato sauce
  • 8 corn tortillas (5 or 6 inch)
  • Shredded cheese, sour cream, and chopped onions, if desired

Directions
  • Heat oven to 350°F.
  • In 10-inch skillet, cook beef over medium heat 8 to 10 minutes, stirring occasionally, until brown; drain. Stir in sour cream, 1 cup cheese, the parsley and pepper. Cover and remove from heat.
  • In 2-quart saucepan, heat water, chili powder, oregano, cumin, chilies, garlic, and tomato sauce to boiling, stirring occasionally; reduce heat. Simmer uncovered 5 minutes. Pour into ungreased 9-inch pie plate.
  • Dip each tortilla into sauce in pie plate to coat both sides. Spoon about 1/4 cup beef mixture onto each tortilla; roll tortilla around filling. Place seam side down in ungreased 11x7-inch glass baking dish. Pour remaining sauce over enchiladas.

  • Bake uncovered about 15 minutes. Top with cheese and cook for additional 5 minutes until cheese is melted and sauce is bubbly. Garnish with shredded cheese, sour cream, and chopped onions.  

My Take

I love this recipe, because you don't use a canned sauce, so you can make it as spicy or mild as you want. The original called for a 4.5 oz can of green chiles in the sauce, but I fear that will make it too spicy for me, and I don't really like my enchilada sauce to be too chunky. 

Most of the time when I make this recipe, I usually use ground turkey. This past time I used a combo, as I only had a half pound of turkey. Also, I find that when I make the sauce as written, I don't have enough left over to pour over the enchiladas, so I usually make 1.5 times the amount of sauce. I found that this gives me enough sauce to pour over them but also gives me the texture that I like from my enchiladas.

A few more notes: For some reason, whenever I roll my tortillas, they always crack. Doesn't matter if they're straight from the fridge, room temperature, or warmed up in the microwave. I just roll with it. By the time they're covered in the sauce and cheese, you can't really tell the difference anyways. May not be the prettiest enchiladas ever, but they sure do taste good!

Tuesday, February 26, 2013

Easy Mushroom Pizza Pie


This past week I've started doing something I've heard about but never done. I've started to "celebrate" Meatless Mondays. Every Monday I'll be a vegetarian for one day. I'm hoping it will help me make better choices of what I eat, plus it makes me eat my fruits and veggies rather than starches and meat.

So yesterday I made a recipe which I have done before but haven't shared on here. It's called Easy Mushroom Pizza Pie. It's very easy to put together, although I may tweak a few things the next time I make it. Here we go!


Ingredients

  • 1 (4 oz) can mushroom pieces and stems, drained
  • 1/3 cup grated Parmesan cheese
  • 1 1/2 cups milk
  • 3 large eggs
  • 3/4 cup Original Bisquick mix
  • 1/2 cup pizza sauce
  • 1/4 cup grated Parmesan cheese
  • 1 to 1 1/2 cups shredded mozzarella cheese (4 to 6 oz)

Directions

  • Heat oven to 425°F. Spray 10-inch glass pie plate with cooking spray. Sprinkle mushrooms, and 1/3 cup Parmesan cheese in pie plate.
  •  In medium bowl, stir milk, eggs, and Biquick mix with fork or wire whisk until blended. Pour over vegetable mixture in pie plate.

  • Bake 20 minutes. Spread pizza sauce over top. Top with remaining ingredients. Bake 15 to 20 minutes longer or until cheese is light brown. Let stand 5 minutes before cutting.
My Take

What I love most about how this turns out is the egginess of it. Reminds me of a souffle, but a lot quicker and easier. The original recipe called for onions both on the bottom and top, but since I don't like onions, I just took them out. If you would like to add them back in, then for the bottom, add 2/3 cup chopped and for the top put 1/3 cup cup. You can also add 1/2 cup chopped green bell pepper for the top as well.

I think next time I make this, I'm going to use fresh mushrooms and sauté them before putting them into the pie plate. I think that will give it more flavor than just using the canned mushrooms.

So, have you ever done a Meatless Monday, or anything like that? How did it work out for you. Was there any recipes you turned to?

Friday, January 4, 2013

Chile Colorado Burritos

Find the original here

 I found this recipe via Pintrest, and it just looked too good to pass up.I knew this was going to be one of those Pins that I just *had* to try. And so, the other night, I did. It didn't turn out quite like I thought it would, but I have some ideas to make it better next time.


Ingredients
  • 1 1/2 to 2 pounds stew meat or other beef cubed
  • 1 large can mild (red) enchilada sauce (at least 19 oz.)
  • 2 beef bouillon cubes
  • 1/2 can refried beans (optional)
  • 5-7 burrito size flour tortillas
  • 1 cup or so of shredded cheddar cheese

Directions 

Place the beef, enchilada sauce, and bouillon cubes in a large heavy sauce pan. Bring it to a boil, then reduce it to a simmer. Let it simmer for 1 1/2 to 2 hours, until the meat is very tender (flakes off when you stir it). 

Heat up the refried beans and spread them out over the tortilla. Then, using a slotted spoon, dip out some beef and place it into the tortilla. Wrap it up like a burrito. Place it onto a cookie sheet or an oven-safe plate. Cover the burrito with the enchilada sauce and some cheese. Put it in your broiler, and broil until the cheese is nice and bubbly, about 2-4 minutes.


I also added some extra toppings

My Take
  
There were several ways on the original blog of how to cook this, but I chose the stove top way as I don't have a Dutch oven, and I thought of making it too late to cook it in the slow cooker. Next time, though, I'll be trying it in the slow cooker with a different kind of meat.

I'll admit, I forgot to set a timer while letting it simmer, but I'm nearly positive that I let it cook long enough. Even so, the meat (I used 2 pounds of stew meat) never really got that super tender. I'm not sure if it was because of the cooking time or because of the meat. The meat itself was tender, but it never got to the "flaking" stage. Next time, I may attempt to do something like my pulled pork and cook it for awhile in the crock pot, shred it, then cook it for a bit longer in the sauce. 

The original blog also said something about tasting it after it was done cooking and adding salt if needed. Mine did not need any salt, and it even tasted a bit too salty. I used the low-sodium beef bouillon cubes, so I don't completely understand where the salty taste came from. Probably because I used canned enchilada sauce instead of making my own. I'll probably do that next time. I also added a bit of homemade taco seasoning because in the comments, people were saying they couldn't taste the enchilada sauce, so I was hoping this would help. 

Also, if you don't feel like turning the oven on, you can also just melt the cheese in the microwave. However, the tortilla will be a little mushy, as it can get a little bit crispy when broiled. But the taste is all the same.

Ooey gooey goodness


Overall, this was a very good dish, and something I'll definitely make in the future.  

Sunday, March 20, 2011

Calzones

I found a couple of recipes for homemade calzones in my two Betty Crocker Cookbooks that I have. One of them is from the 80's, while the other one is a brand-new one. I kinda mixed the two together and this is what I came up with.

Ingredients
  • 1 can of pre-made pizza dough
  • Pizza toppings
    • Pepperoni
    • Sausage
    • Mushrooms
    • Black Olives
    • Onions
    • Etc.
  • Mozzarella cheese, shredded
  • Ricotta cheese
  • Pizza seasoning
  • 1 egg, lightly beaten
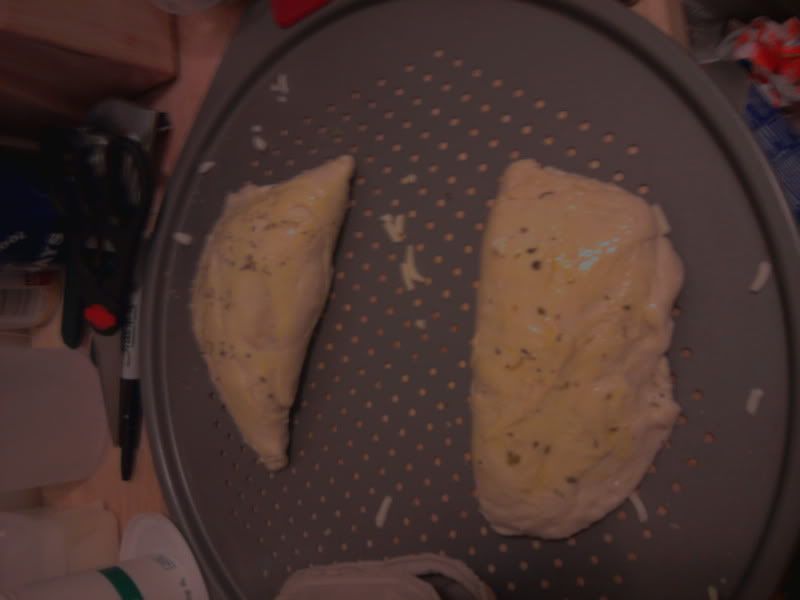
Before they went into the oven
Directions
  • Preheat oven to 350°F
  • Divide the dough into 2. Make them as round as possible.
  • Put the pizza toppings, mozzarella and ricotta cheese on one half of the circles, keeping a 1/4" edge on the outside.
  • Sprinkle the pizza seasoning over toppings/cheese
  • Fold the empty side over on top of the filled side. Pinch or use a fork to put them together. Make sure the seam is tightly sealed.
  • Brush the egg on top of the now sealed calzone. Lightly sprinkle some more pizza seasoning on top of the calzone.
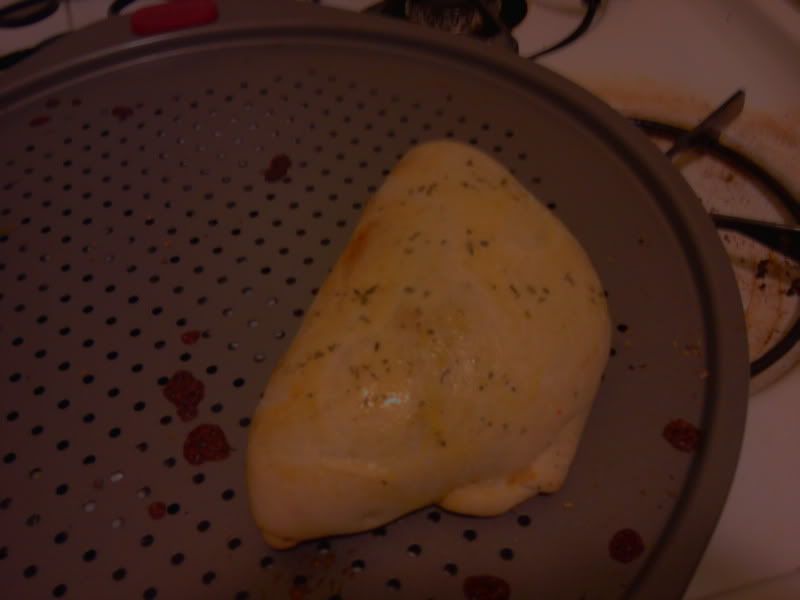
  • Put into the oven and cook for about 20 minutes or until the crust is golden brown. Don't be surprised if they grow a bit.
  • Take out and serve with the sauce of your preference. We had marinara. :)
All done!
My Take
I was very amazed at how easy these were to make. Whenever I go to Old Chicago, I always order their calzones, but now I can make them in the comfort of my own home without high prices!

You can put the sauce inside the calzone, but I didn't want it too messy as well as (I believe) traditional calzones don't have the sauce in them. Also, make sure you're careful not to fill them up too much, otherwise the dough might split and yeah....that wouldn't be too good.

So, there ya (finally) have it. My calzone recipe. Feel free to leave comments about what works for you and any questions you have. I promise I won't take a week to reply! :)

Wednesday, March 9, 2011

Cheesy Breadsticks

I totally made this recipe up after Dylan pointed out a bag of frozen ones at Wal-Mart. I said I could make them, so here is what I came up with. They are pretty easy to make and taste pretty good too!

Ingredients

  • Can of pre-made pizza dough
  • 1 package of string cheese
Directions
  • Preheat oven to 350°F
  • Open can of pizza dough and unroll it.
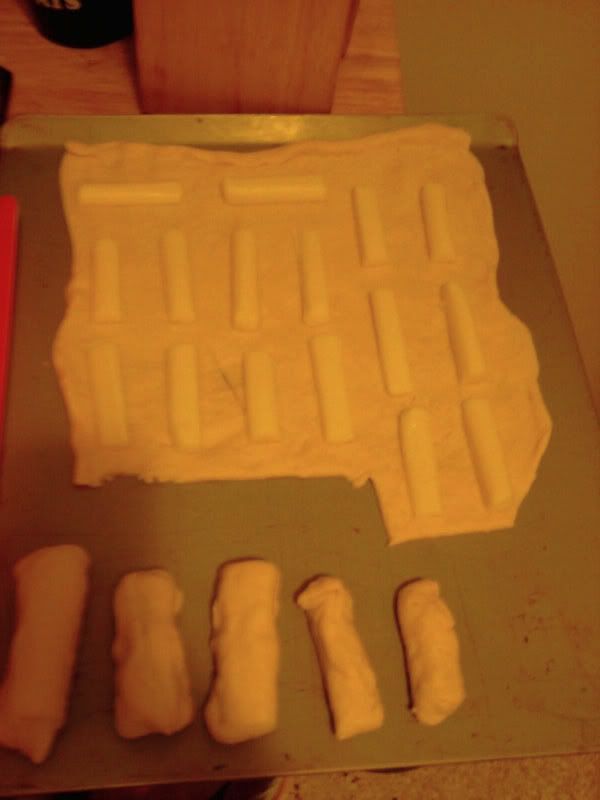
  • Cut string cheese in half, and then cut them in half lengthwise.
  • Place pieces of cheese on dough, leaving about 1/4-1/2 inch between each piece.
  • Cut the dough around each piece; should be a rectangular shape.
  • Cover the cheese with the dough, making sure all the seams are securely closed.
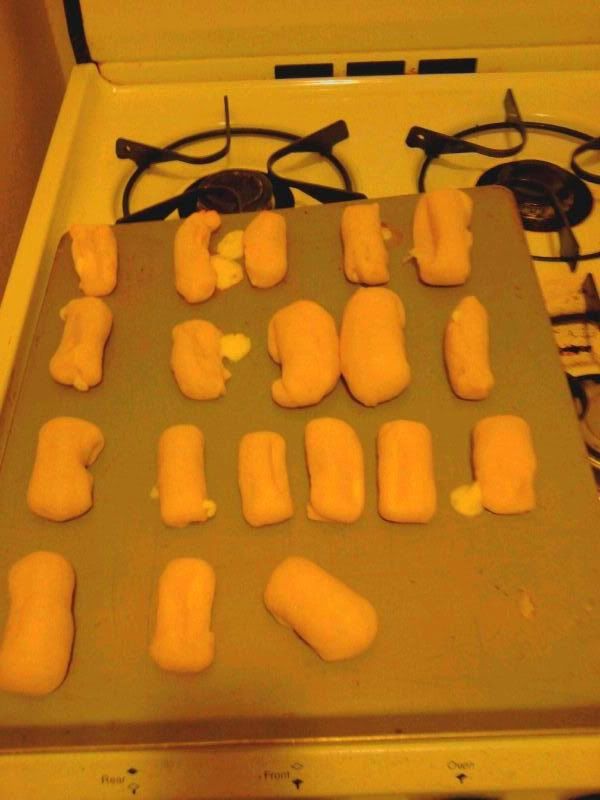
  • Put on cookie sheet and cook for about 10 minutes, or until lightly browned.
  • Serve with dipping sauce of your choice.


My Take
I made a couple that were just cut in half once, but I thought they were a bit too big. I liked them smaller, plus they would work better for appetizers, in my opinion.

I dipped my breadsticks in marinara sauce, which was very tasty.

I asked Dylan if they needed any other seasoning, and he said they were good the way they were, so I'm marking this down as a success. 

Also, I think I only used half a package of string cheese, but I'm not quite sure. I bought a full package, so that's what really counts, right? :p


Bursting with ooey gooey cheesy goodness. 

Friday, December 10, 2010

Quick and Easy Chicken & Cheese Quesadillas

This is a "recipe" which my mom and brother made up. It makes for a great weekend meal for when you can't think of anything else to cook. I discussed this with one of my friends and she makes a yummy-sounding one as well, but it's more work and, since Dylan and I are extremely picky eaters, this one works well for us. Maybe Cassie will grace me with her prescence on my blog and give her recipe. ^^ Oh, and there aren't exact measurements (except for the chicken) as I do this all by sight.

Ingredients

  • 2 (13 oz) canned chicken breast
  • Shredded colby jack cheese
  • Taco Seasoning
  • Tortillas
Directions
  • Drain the juice/water from the canned chicken breast. Then place the chicken in a bowl. With a spoon, "mash" the chicken until it has become shredded
  • Add cheese to chicken. I do it all by sight. I like to have just over half-and-half. You kinda just have to experiment and see what you like the best. I think you need just a bit more cheese than chicken, otherwise, it won't melt shut right.
  • Add taco seasoning to taste. I like to make sure that everything is lightly covered.
  • Cook one side of a tortilla until it is barely brown. You don't want it crunchy, as then you won't be able to fold it over.
  • Flip tortilla and put filling on half. Fold it over and cook both sides until lightly browned, making sure the filling is nice and melted. 
  • Enjoy!
My Take
I loooove this recipe. Feel free to experiment, and if you want, measure how much cheese and taco seasoning you put in and lemme know. Like I said, I never measure with this, but I figured I would stick it up here anyway and let you guys have a go at it. Also, lemme know if you try it with any other fillings. 

Oh! And if you want, you can cook it like a grilled cheese sandwich, using 2 tortillas and not folding it. Then you can cut it into wedges and serve it at a party.

The filling also tastes great warmed over tortilla chips; kinda like chicken nachos. 

Okay, so lemme know what you think, and please, feel free to comment. I <3 comments. ^.^