Showing posts with label casserole. Show all posts

Wednesday, September 11, 2013

Bubble-Up Pizza Casserole


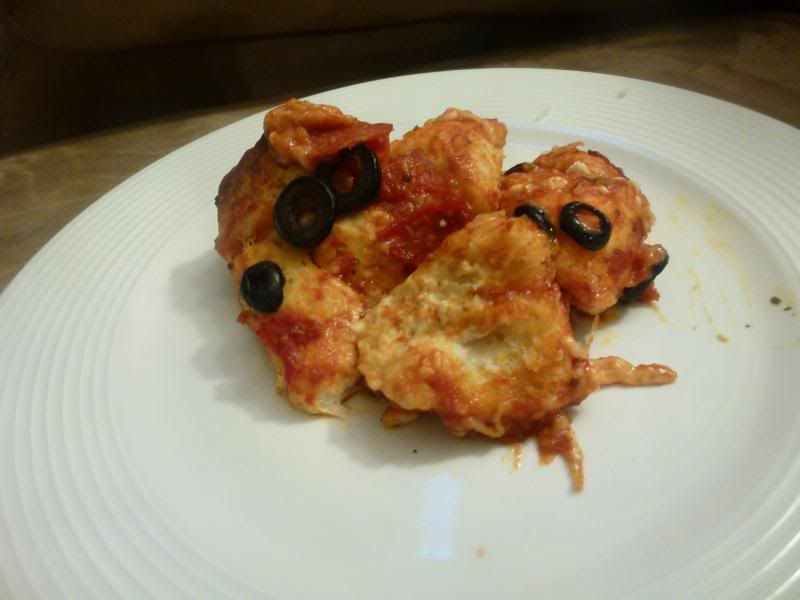
This was one of those recipes I found while browsing Pintrest. It sounded interesting and because pizza is one of our favorite meals in our house, I thought I would give it a try. This was an instant hit. I knew my husband really liked it because he ate the leftovers, which is something he rarely does. Another hint that I had hit upon something amazing was just the next week, he asked when we were going to have it again.

Yes folks, I had on my hands a "Pin Win". This is a great recipe because it doesn't really take a whole lot to prep and it's a fun way for the little ones to eat one of their favorite food. You can also reduce the fat by using reduced-fat biscuits and turkey pepperoni, or even a fully veggie one. Go ahead, make your favorite pizza...in casserole form!

Bubble Up Pizza
(Printable Version)

Ingredients
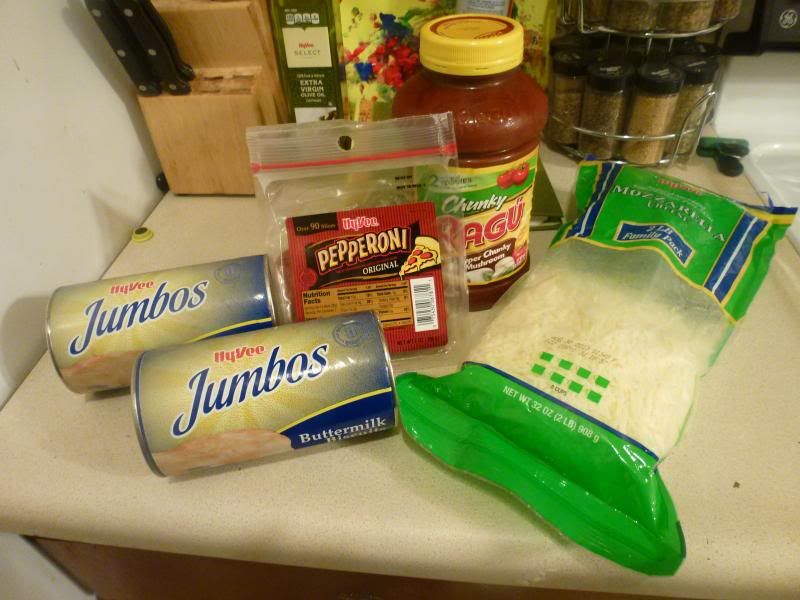


  • 2 cans of canned biscuits (16 biscuits in total)
  • 1 (15 oz) jar spaghetti/pizza sauce
  • 2 cups shredded mozzarella cheese
  • Your favorite pizza toppings (pepperoni, sausage, black olives, mushrooms, onions, peppers, etc.)
Directions
  • Preheat oven to 350°F. Grease a 9x13" baking dish. 
  • Cut up biscuits into fourths. Place in a large bowl. Add in the sauce, 1 cup cheese, and toppings. Stir until mixed well. Place mixture into baking dish. 

  • Bake for 30 minutes, or until bubbly. Top with remaining cheese and bake for an additional 5-10 minutes, until cheese is melted and starting to bubble. 
 My Take


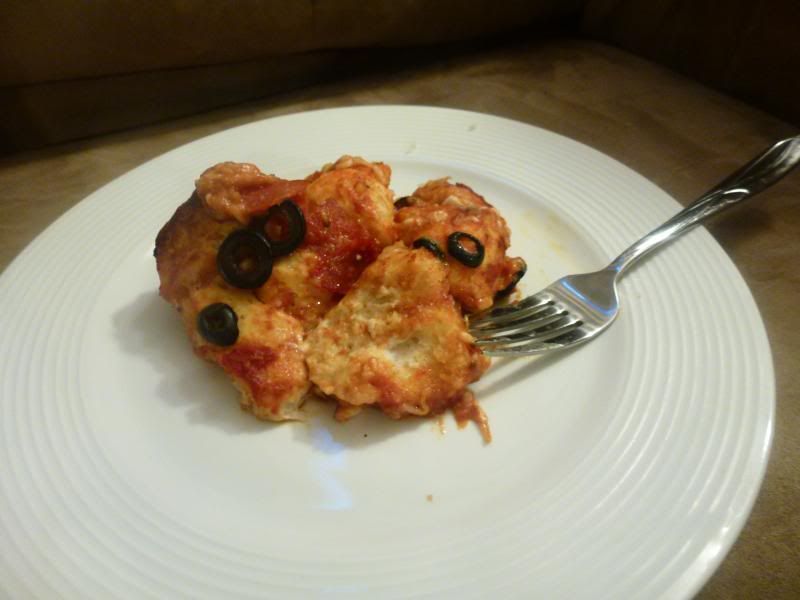
As I said before, this is a huge hit around here. We have it  once a month, at least! There's not really much to it. One thing is that you can either use those baby pepperonis that they have, or, what I like to do, is cut the pepperoni in half. I find that doing this helps distribute the pepperoni more evenly and is more managable to eat.

If there are people that like different toppings, then you can just top the additional toppings before you put the cheese on, like you see with the black olives in the picture above. 

Monday, February 18, 2013

Slow Cooker Chicken Pot Pie

I recently had a couple of boneless skinless chicken breasts hanging out in my freezer that I wanted to use up. I know chicken is healthy for me, but I get burned out on it super fast, and I don't like eating just a chicken breast. So, I scoured the Internet, searching for something I could make with the few ingredients I had on hand (didn't do a good job this week on thinking ahead grocery-wise).

What I came up with was a slow cooker chicken and dumplings. I found a few recipes, and then I noticed some of them added veggies, so to me, it seemed more like a slow cooker chicken pot pie. I thought, "Hey, I have some canned veggies that have been lounging around my pantry for a long time. This'll be a good time to use them! There's also some baby carrots which need to be used up too!" So I did some more digging. I found a recipe that seemed good to me, but I decided to change it to suit what I had on hand. So the following is what I put in mine. In the "My Take" section, I'll let you know what I liked, didn't like, and what I would change next time I make it.

A few of the ingredients you'll need


Ingredients 
  • 2 large skinless boneless chicken breasts
  • 1 cup chopped carrots
  • 2 (10.5 oz) cans condensed cream of chicken soup
  • Garlic salt
  • Celery salt
  • Ground black pepper
  • Mrs. Dash's no-salt original recipe
  • Onion poweder
  • 1/2 can sweet peas
  • 1/2 can green beans
  • 1 1/3 cup Bisquick mix
  • 6 tablespoons milk
Directions

Throw everything except for the Bisquick mix and milk into the crock pot, just sprinkling the garlic salt, celery salt, ground black pepper, Mrs. Dash's, and onion powder onto the chicken breasts to season them. Cook on Low for 5 hours. After 5 hours, shred the chicken in the crock pot. Cook for 1 more hour on Low. Mix the Bisquick and milk together to make dumplings. Drop the dumplings, spoonful by spoonful, into the crock pot. Cook on High for 45 minutes to 1 hour. Dish is done when the dumplings are cooked all the way through.

After the chicken has been shredded


My Take

I was pretty unsure as to how this was going to turn out, but my fears were proved wrong. This was amazing! I was worried that it would be too salty or the dumplings wouldn't cook right, but nope! I was pretty amazed that the dumplings cooked so well in the slow cooker.

I initially made the dumpling recipe as listed on the Bisquick box, but it didn't look like enough, so I doubled it. I'm glad I did.

People have also used canned biscuits, but since I didn't have any on hand, I just did the dumplings. It's also said that you should cut the chicken into chunks before you put it in the crock pot, but I've found that if you leave the breasts whole, they hold their juices better and stay more moist.

If you love home made chicken pot pie, I highly encourage you to make this. Feel free to substitute your own veggies and add some more. I think next time I make it I may add a bit of water, as I wanted it a bit more soupy. The biscuits/dumplings tend to suck up the moisture once added.

In conclusion, this will be added to my crock pot recipes and I will definitely make this during the winter months. Especially when the temperatures are as cold as they are today: 1 with a windchill of  -2!

Thursday, January 6, 2011

Tamale Pie

One of my New Year's Resolutions is to try one new recipe a week. Which means, my loyal readers, you get a new recipe once a week. I'll also throw some of my tried-and-true recipes in there for good measure. This week, you're lucky. You get two recipes! Isn't that exciting!?

Dylan and I love Mexican food. Sometime down the road I want to try making some authentic Mexican dishes, but for now, I settled on this tamale pie. Whenever I go to a Mexican restaurant, I have to have a tamale, so this particular dish sounded amazing to me. You ready? Let's start cooking!

Ingredients

  • 2 teaspoons vegetable oil
  • 1 medium onion, chopped
  • 1 pound ground beef chuck
  • 1 tablespoon chili powder
  • 1 teaspoon ground cumin
  • 1 cup medium-hot salsa
  • 1 can (15 1/4 to 16 ounces) whole-kernel corn, drained
  • 4 cups water
  • 1 cup cornmeal
  • 1 teaspoon salt
  • 2 ounces Cheddar cheese, shredded (1/2 cup)
Directions
  • Preheat oven to 350°F. In nonstick 12-inch skillet, heat oil over medium-high heat; add onion and cook until tender and golden, about 5 minutes. Stir in ground beef and cook, breaking up meat with side of spoon, until meat is browned, about 5 minutes. Skim and discard any fat. Stir in chili powder and cumin and cook 2 minutes longer. Remove from heat and stir in salsa and corn.
  • In 2-quart saucepan, heat water to boiling. With wire whisk, gradually whisk in cornmeal and salt. Cook over medium heat, whisking frequently, 5 minutes
  • Pour half of cornmeal mixture into shallow 2-quart casserole. Spoon beef mixture over cornmeal; spoon remaining cornmeal over beef and sprinkle Cheddar on top. Bake 45 minutes. Remove casserole from oven and let stand 15 to 25 minutes before serving. Makes 6 main-dish servings.
My Take
Now, as I've mentioned before, Dylan and I are very picky eaters. I think he's more picky than I am, but whatever. So, when I saw this contained onions, I, for a second, grimaced. Onions are one of my most disliked foods, but I love the flavor they can add to foods. So I got the bright idea that I could chop it up really fine and we would never notice. So I sliced half of a small onion and put it in my Magic Bullet. Er...it didn't turn out like I had planned. I think I used the wrong blade, so instead of being finely chopped, it came out as onion paste.

Okay, there was no way I was going to mix that with my meat, so instead I heated up the oil and cooked the onion paste a bit, just trying to get some of the flavor into the skillet. I think it kinda worked, but there were onions in the salsa, so I wasn't freaking out about it too much.

Another problem I ran into was I don't think it was done when I pulled it out. It might have had something to do with the fact that I didn't have a "shallow" casserole dish. The cornmeal wasn't completely set up. It wasn't firm, but it wasn't really watery either. It was just slightly gooey. I thought it was kind of hard to tell if it was done or not. It tastes fine, though, so I guess it turned out okay. It tasted really yummy. 

I think next time I make this, I'm going to use a pound of turkey instead of the ground chuck. :)