Wednesday, March 27, 2013

Tie-Dye Fruity Cupcakes


Just in time for the Easter season, here's a fun little cupcake which has a nice spring time twist. I originally found these on Pintrest from the Jell-O website. I originally posted about these last year on my Domestication blog, but since I don't have many desserts on here, and it's now officially springtime, I thought I would re-post them over here. :)


Ingredients
  • 1 package (2-layer size) white cake mix
  • 1/4 cup dry lemon Jell-O (about half a package)
  • 1/4 cup dry lime Jell-O
  • 1/4 cup dry strawberry Jell-O
  • 1 container (16 oz) ready to spread vanilla frosting
Directions
  • Prepare cake batter as directed on package; divide evenly into 3 bowls.
  • Stir a different flavor of the Jell-O mix into each bowl.
  • Alternatively spoon batters into 24 paper-lined muffin cups, adding about 2 tablespoon of each batter to each cup. Bake as directed on package for cupcakes. Cool completely.
  • Frost cupcakes with frosting.

 My Take

These were wonderful. I think when I originally made them, I had a bit too much strawberry, so that was the main flavor that came through. This gave me great ideas as how to flavor cupcakes with other Jell-O flavors. I want to try a triple berry one sometime, but haven't gotten around to it yet.

A suggestion they had on the original post was to use Cool Whip as the frosting and sprinkle a little bit of the dry Jell-O mix on top. I didn't do that. I used whipped vanilla frosting and then colored a little bit of unsweetened dried coconut green and added that on top. I thought they turned out pretty well, so I'm looking forward to making them again this year.

Monday, March 25, 2013

"Bay Creek Camp" Lasagna


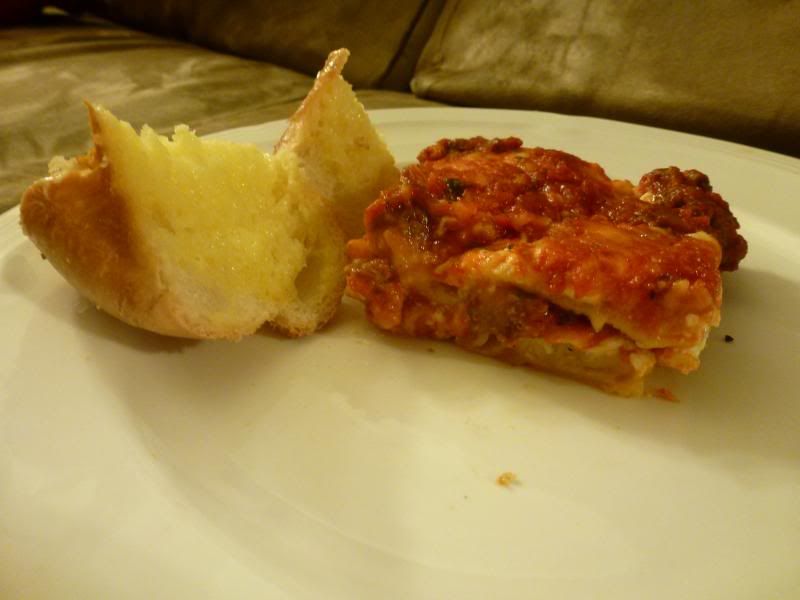
This title may seem a bit strange to you. "What is 'Bay Creek Camp'? Why are they making lasagna?" Well, Bay Creek is the name of a church camp that my parents worked at for a week each summer when I was growing up. This is the recipe which they used to feed all those hungry kids and teenagers. This is a huge recipe designed to feed 20 (though you may be able to squeeze more out of it, depending on how big you cut the pieces). I've cut it down in half before, but it still made waaaay too much for just my husband and I. So now I make it designed to feed about 5 people. Enough for us and enough for leftovers. I'm going to give you the original recipe. That way you can use it for all those big family reunions, pot lucks, and for when company comes over.

"Bay Creek Camp" Lasagna
(Printable Version)

Ingredients
Forgot the Parmesan...oops....

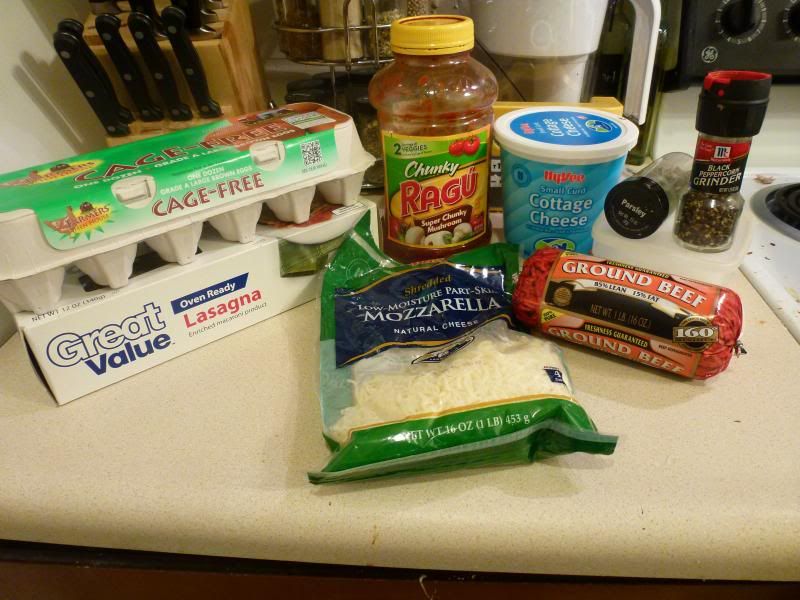
  • 2 pounds ground beef
  • 6 1/2 cups spaghetti sauce
  • 2 pounds shredded mozzarella cheese
  • 6 cups cottage cheese (I tend to use small curds)
  • 4 eggs
  • 1 cup grated Parmesan cheese
  • 4 tablespoons parsley
  • 2 teaspoons salt
  • 1 teaspoon pepper
  • 1 1/2 pounds lasagna noodles (uncooked)
Directions
  • In a large sauce pan, brown the beef. Drain. Add the spaghetti sauce and mix together.
 
  • Combine the cottage cheese, eggs, Parmesan cheese, parsley, salt, and pepper together in a seperate bowl. Mix until well blended.
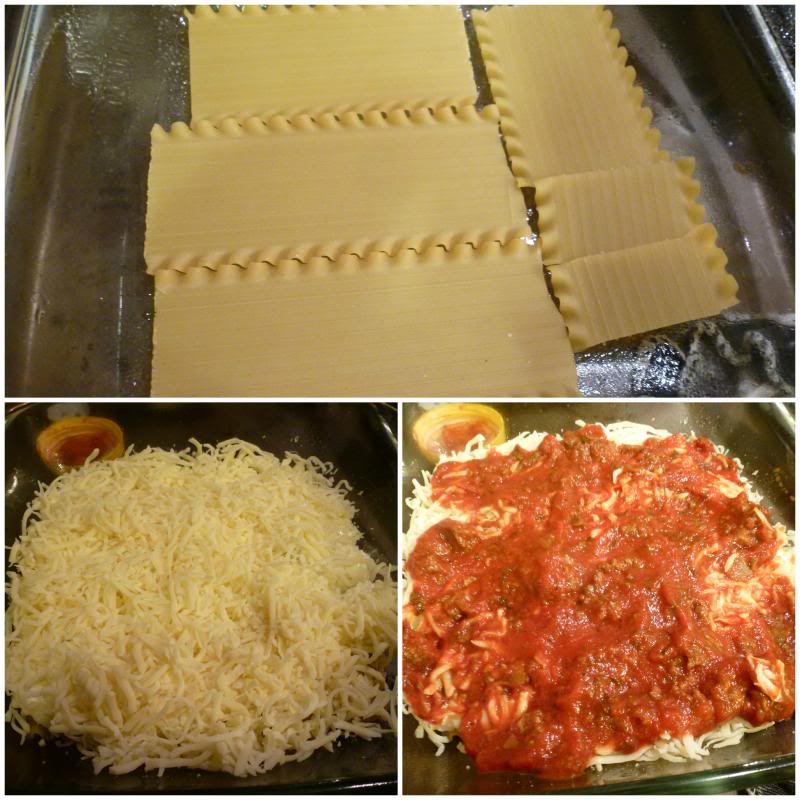
  • Spray a 12" x 20" pan. Layer the ingredients in this order, twice:
    • Noodles
    • Cottage cheese filling
    • Mozzarella cheese (1 pound per layer)
    • Meat sauce
Forgot to take a picture of the cottage cheese layer
  • Cover and chill overnight. 
  • Preheat oven to 375°F. Set lasagna out to warm.
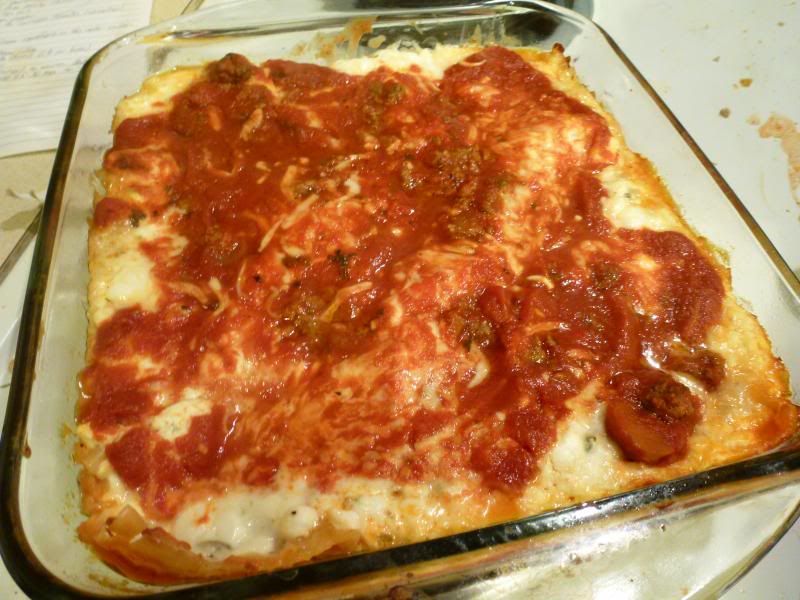
  • Bake for 45 minutes, covered.
  • Let stand for 25-30 minutes to set up.


 My Take


It's hard for me to say anything bad about this lasagna, as it's the one I grew up with. Not only was it the one they made for us at camp, but it's also the one my mom always makes. You can substitute ground turkey instead of beef which is usually what I do, but I had some ground beef that needed to be used up this time around. I'm thinking next time I may use Italian sausage and see how that adds to the flavor.

Please note that you need to let it chill overnight if you are using regular uncooked lasagna noodles. When this recipe was made, they didn't have those fancy oven ready noodles. I did use the oven ready kind, but I still chilled it over night. I'm not 100% sure if I needed to do that, but better safe than sorry.

Do you have a family recipe that you love and use on a regular basis? If so, what is it? Share with us in the comments. :)

Tuesday, March 19, 2013

Slow Cooker Mexican Chicken


I found this recipe while perusing Pintrest one day. I was very doubtful of its flavor, as it only has 3 ingredients, but since I had all the ingredients on hand, I decided to try it. Honestly, I will never make chicken for tacos another way! I didn't realize that I hadn't put it on this blog (had actually posted it on my Domestication blog) so here it is for your enjoyment.

Ingredients
  • 6 boneless skinless chicken breasts
  • 1 (16 oz) jar salsa
  • 1 package taco seasoning OR 3-4 tablespoons homemade taco seasoning
Directions

Everybody into the pool!

  •  Dump chicken, salsa, and taco seasoning into your slow cooker. Stir a bit so the taco seasoning and salsa blend together.
  • Cook on low for 5 hours. Shred chicken and stir until well mixed.
  • Cook on Low for one more hour.
Shredded chicken


My Take

That's it! It's that simple. You can even let it cook a bit longer (6-8 hours) before shredding it, but I highly recommend letting it cook after you shred it for a bit. That way, the shredded chicken will soak up all that flavor. I love to eat these on flour tortillas with tomatoes, shredded lettuce, sour cream, and black olives. I've also used the leftovers to make a taco casserole, which turned out wonderful.

Usually when I make this, I only use 2-3 breasts, as I'm the only one in the house that eats it. I could make more and freeze it, but we don't have a lot of freezer space. So, when I make it, I cut everything in half. And, honestly, I just eyeball how much salsa and taco seasoning to use.

Facebook

I've been thinking about this for awhile, and finally decided to create a page for "Café Strawn" over on Facebook. I felt that this would be good for me to post what I've been doing in the kitchen in between recipe posts over here.

There are a lot of recipes that I've been working on, but I haven't made a lot of them up to my standard yet, so I haven't posted them. I also have made some stuff, but forgot to take pictures (my bad...) Because I know you eat with your eyes first, pictures are very important to recipes. Sadly, many of my first recipes have lack-luster pictures because my equipment wasn't that great. I've upgraded, so when I remake some of those things again, then I'll retake pictures and edit the original post.

In other news, I've created a Pinterest board of all the recipes (that have decent pictures) that I've posted. I feel like this is a good way for me to garner some more traffic. If you are a user of Pinterest and have tried or would like to try one of my recipes, I would highly appreciate it if you could Pin or re-Pin one of my recipes. Thank you!

I think that's all the news for me today. Friday I will be making some homemade lasagna, so be looking for a post about that next week. :)

Thursday, March 14, 2013

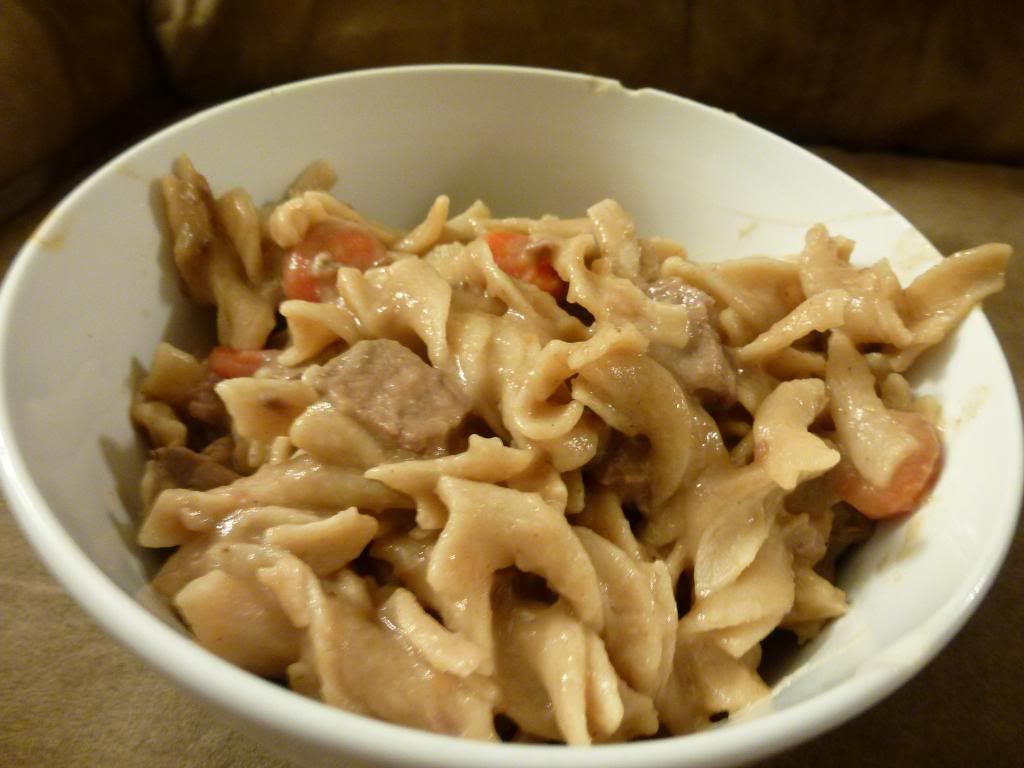
Beef and Noodles


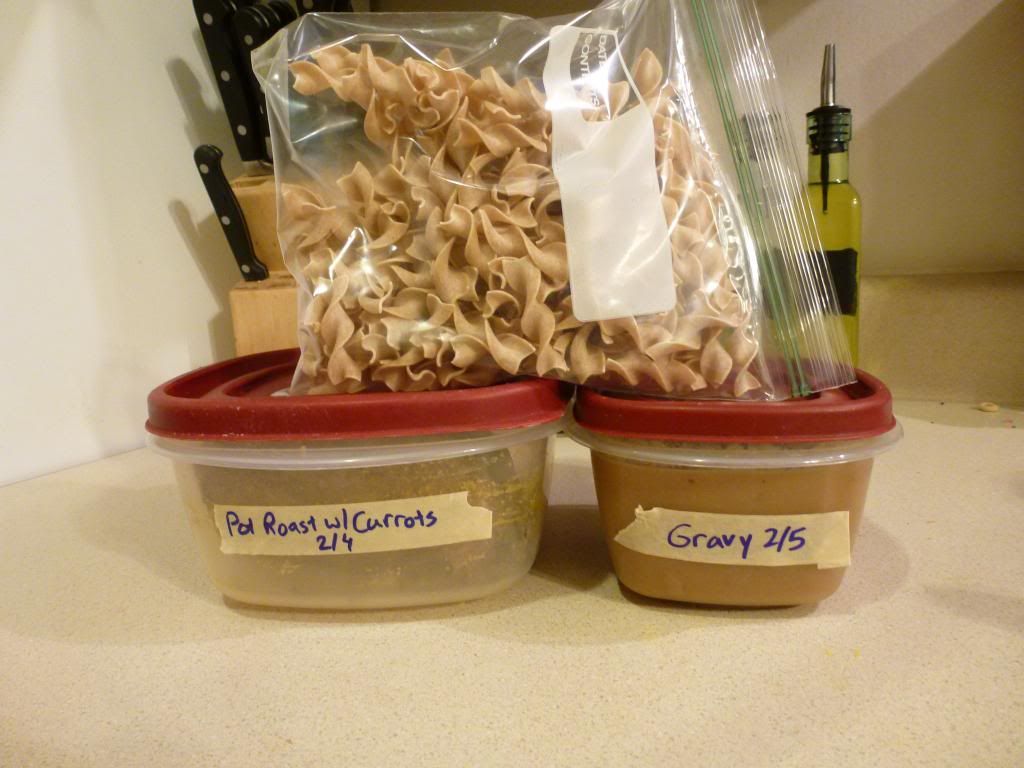
Pot roast is a wonderful meal for a nice quiet family dinner, but what do you do with the leftovers? My mom use to make this wonderful recipe of beef and noodles using the leftovers from our pot roast dinner. I loved it so much, that I have taken the liberty of making it and writing up a recipe for it.

Beef and Noodles
(Printable Version)

Ingredients
  • 1 cup leftover pot roast, diced or shredded
  • 1/2 package extra wide egg noodles
  • 1 cup gravy
  • 1/2 cup cooked carrots, sliced (optional)


Directions
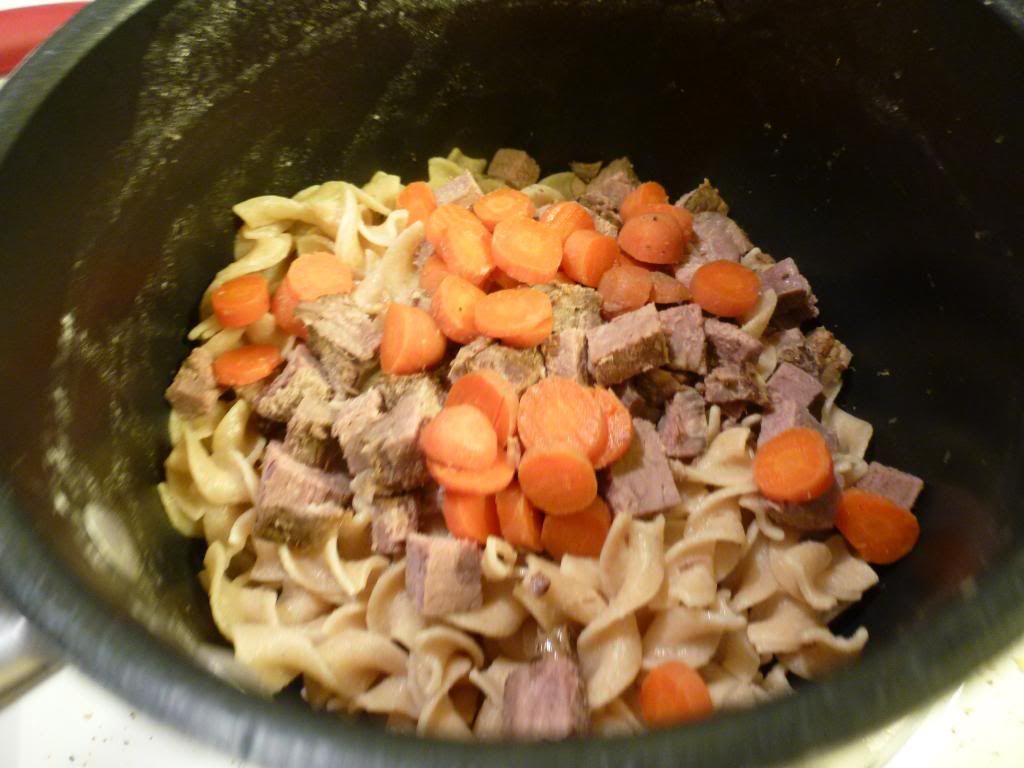
  • Cook egg noodles according to package. Drain.
  • Add roast, carrots, and gravy. Mix well. Cook on low in a sauce pan until heated through.


My Take

And that's it. Pretty easy to throw together and have on a weeknight with a leftover Sunday pot roast. I didn't have to add any extra seasoning since I used everything that was already seasoned, but if you feel it is a bit bland, feel free to add a pinch of salt and some other seasonings. I think I may have added a touch of salt and pepper. You can also add some more veggies to it. I typically just stick with the carrots, as that's what's leftover when I cook a roast, but I think peas would be great as well.

This is a great base which you can personalize and really run with. Have you made this and made  it your own? How did you personalize it?

Saturday, March 9, 2013

Beef Enchiladas


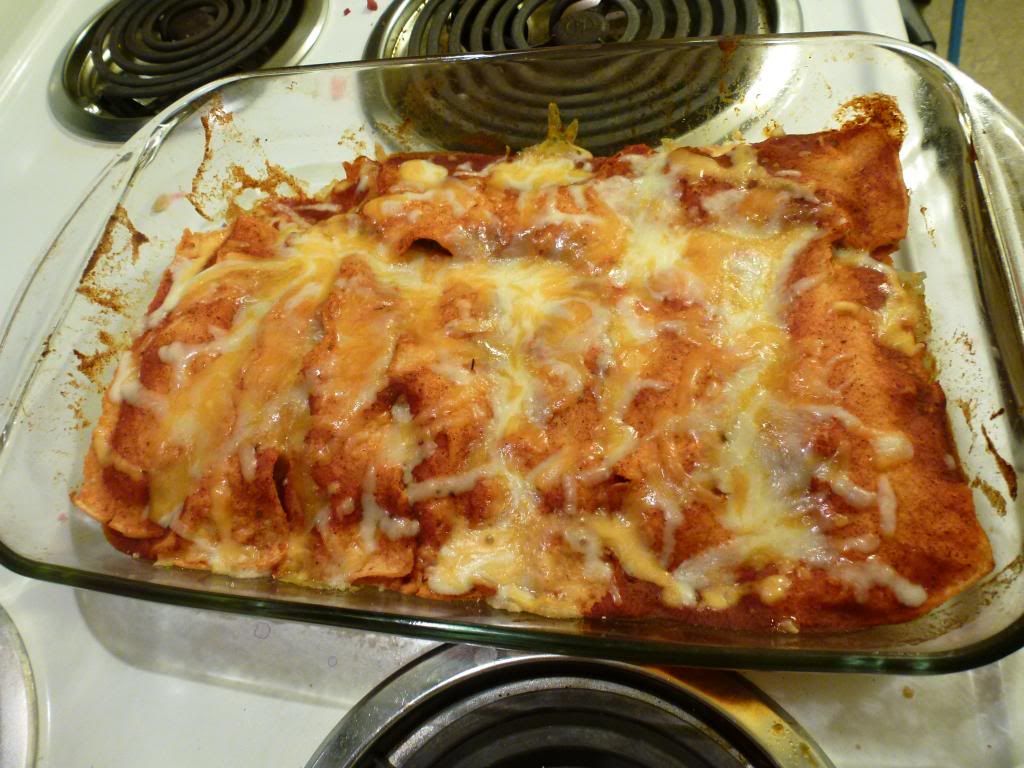
I love Mexican food. When I was pregnant with Lucy, I craved Mexican food all the time. Thankfully, I didn't burn myself out on it, so I still make these amazing enchiladas as often as I'm able. They're probably not totally authentic, but they taste good, so for my American taste buds, they work. I'll talk more about them after the recipe.

Beef Enchiladas
(Printable Version)

Ingredients
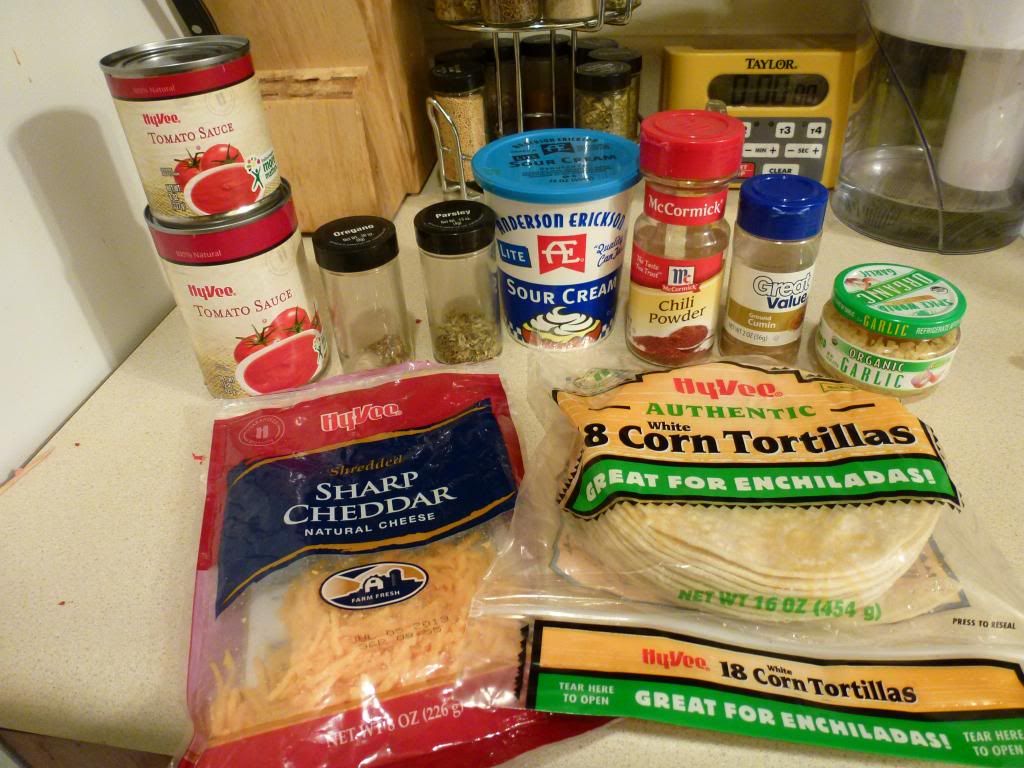
  • 1 pound lean (at least 80%) ground beef
  • 1/2 cup sour cream
  • 1 cup shredded Cheddar cheese
  • 2 tablespoons chopped fresh parsley
  • 1/4 teaspoon pepper
  • 2/3 cup water
  • 1 tablespoon chili powder
  • 1 1/2 teaspoons chopped fresh or 1/2 teaspoon dried oregano leaves
  • 1/4 teaspoon ground cumin
  • 1 clove garlic, finely chopped
  • 1 can (15 oz) tomato sauce
  • 8 corn tortillas (5 or 6 inch)
  • Shredded cheese, sour cream, and chopped onions, if desired

Directions
  • Heat oven to 350°F.
  • In 10-inch skillet, cook beef over medium heat 8 to 10 minutes, stirring occasionally, until brown; drain. Stir in sour cream, 1 cup cheese, the parsley and pepper. Cover and remove from heat.
  • In 2-quart saucepan, heat water, chili powder, oregano, cumin, chilies, garlic, and tomato sauce to boiling, stirring occasionally; reduce heat. Simmer uncovered 5 minutes. Pour into ungreased 9-inch pie plate.
  • Dip each tortilla into sauce in pie plate to coat both sides. Spoon about 1/4 cup beef mixture onto each tortilla; roll tortilla around filling. Place seam side down in ungreased 11x7-inch glass baking dish. Pour remaining sauce over enchiladas.

  • Bake uncovered about 15 minutes. Top with cheese and cook for additional 5 minutes until cheese is melted and sauce is bubbly. Garnish with shredded cheese, sour cream, and chopped onions.  

My Take

I love this recipe, because you don't use a canned sauce, so you can make it as spicy or mild as you want. The original called for a 4.5 oz can of green chiles in the sauce, but I fear that will make it too spicy for me, and I don't really like my enchilada sauce to be too chunky. 

Most of the time when I make this recipe, I usually use ground turkey. This past time I used a combo, as I only had a half pound of turkey. Also, I find that when I make the sauce as written, I don't have enough left over to pour over the enchiladas, so I usually make 1.5 times the amount of sauce. I found that this gives me enough sauce to pour over them but also gives me the texture that I like from my enchiladas.

A few more notes: For some reason, whenever I roll my tortillas, they always crack. Doesn't matter if they're straight from the fridge, room temperature, or warmed up in the microwave. I just roll with it. By the time they're covered in the sauce and cheese, you can't really tell the difference anyways. May not be the prettiest enchiladas ever, but they sure do taste good!